Very good and clear explanatory pictures.
Did you use a standard clip-picking toolset or any specific brand.
To my experience some clips can break easily and become a culprit in the future.
And off course to prevent any damages on the panels…
I am planning to re-use my DSP Axton 594 AMP (6 channel) combined with a Phoenix Gold Amped underseat Sub to be installed on the back of the rear passengers seats in the trunk.
It has a Harness for axton AMP to (I presume) ISO
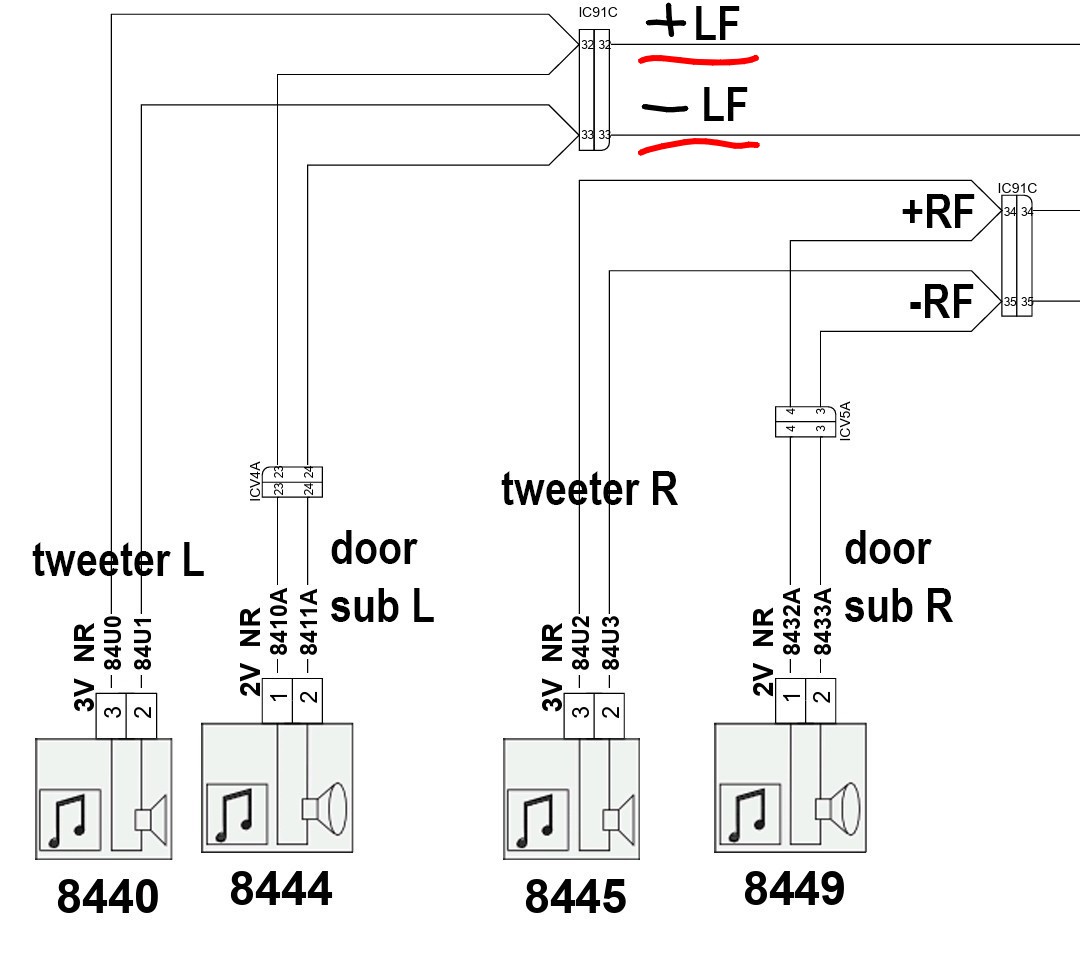
But reading your posts I think I’ll be needing a 8 channel DSP (because of the center speaker?)
DSP and Sub are from my DS3 wich I uninstalled from previous installation.
Would you recommend to re-use these items or would I need a different AMP to combine with the sub?
Dear AvatarPL, dear all
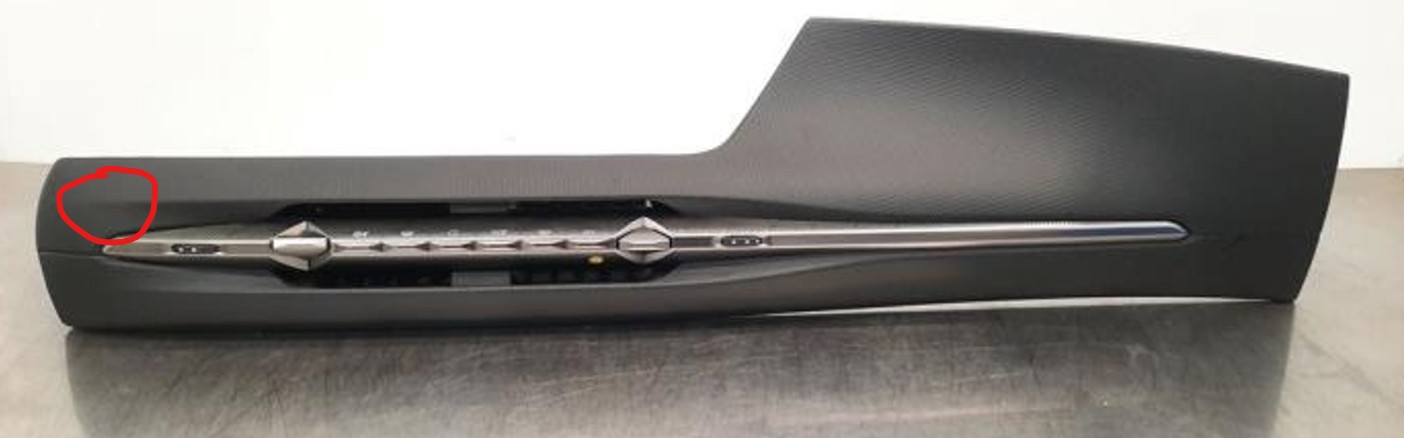
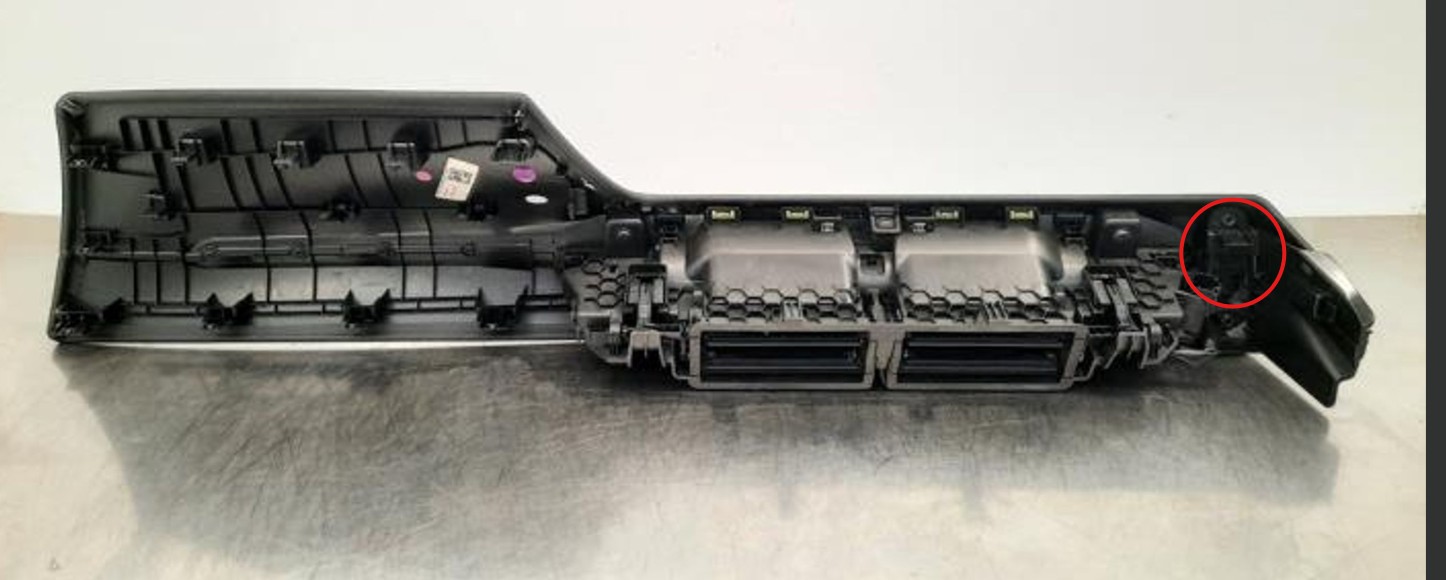
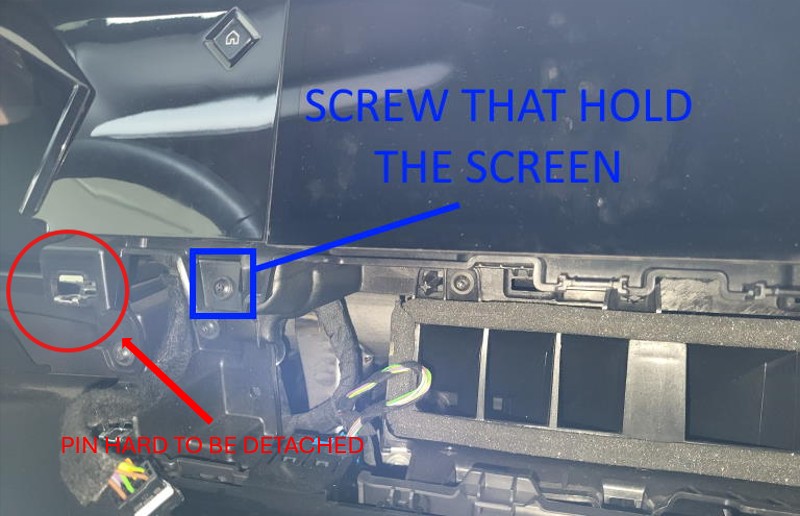
I’m removing the frontal cover of the dashboard. I’ve easily done 99% of the job… but I’m stuck with this last pin, pictures for reference. so it seems the flat plastic pin is stuck in its metal clip with some bent hook that avoid to remove the whole panel. I’m applying force but I risk to damage the plastic frame that surrounds the diplay.
Have you experienced any similar difficult?
do I have to do some “special movement” to disengage this plastic pin?
They didn’t design it well. The pin marked in red often gets damaged. You can live with it, but it’s better to replace the metal with a new one.
You have to pull the screen out with the bottom facing you. But first, you have to unscrew the two screws on the sides of the screen. Generally, the screen is mounted specifically and won’t come out by itself after unscrewing the screws. The dash is a bit of a nuisance because the screen comes out with a black piano finish on both sides.
dear Andrew, I finally was able to dismantle the big front panel!
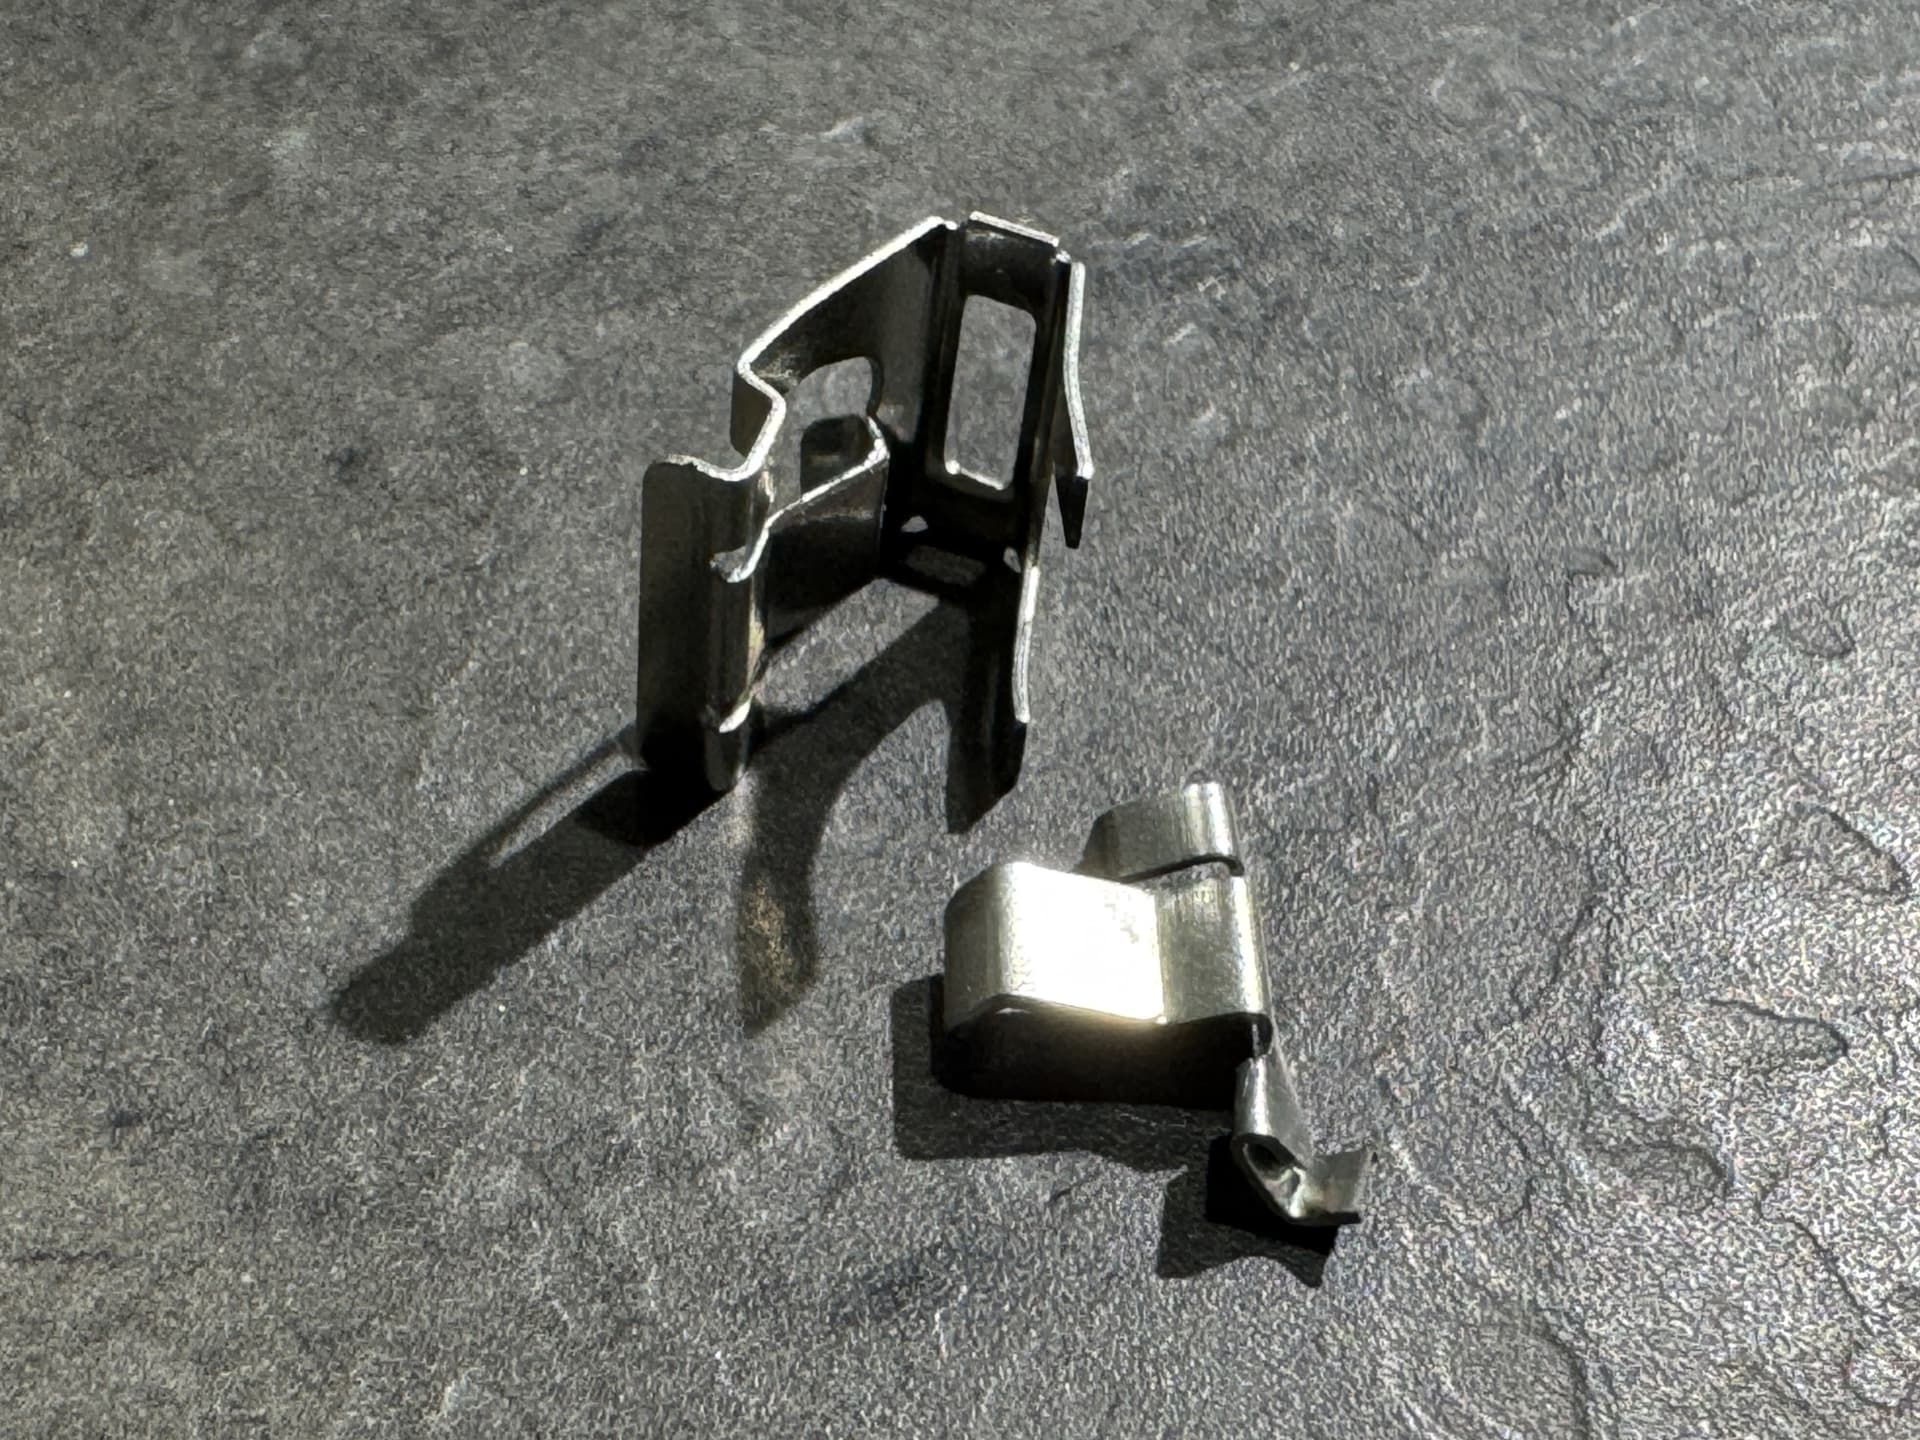
The issue was caused by a broken metal clip that hanged too hardly the flat plastic pin.
so with a bit more pressure, the panel felt down.
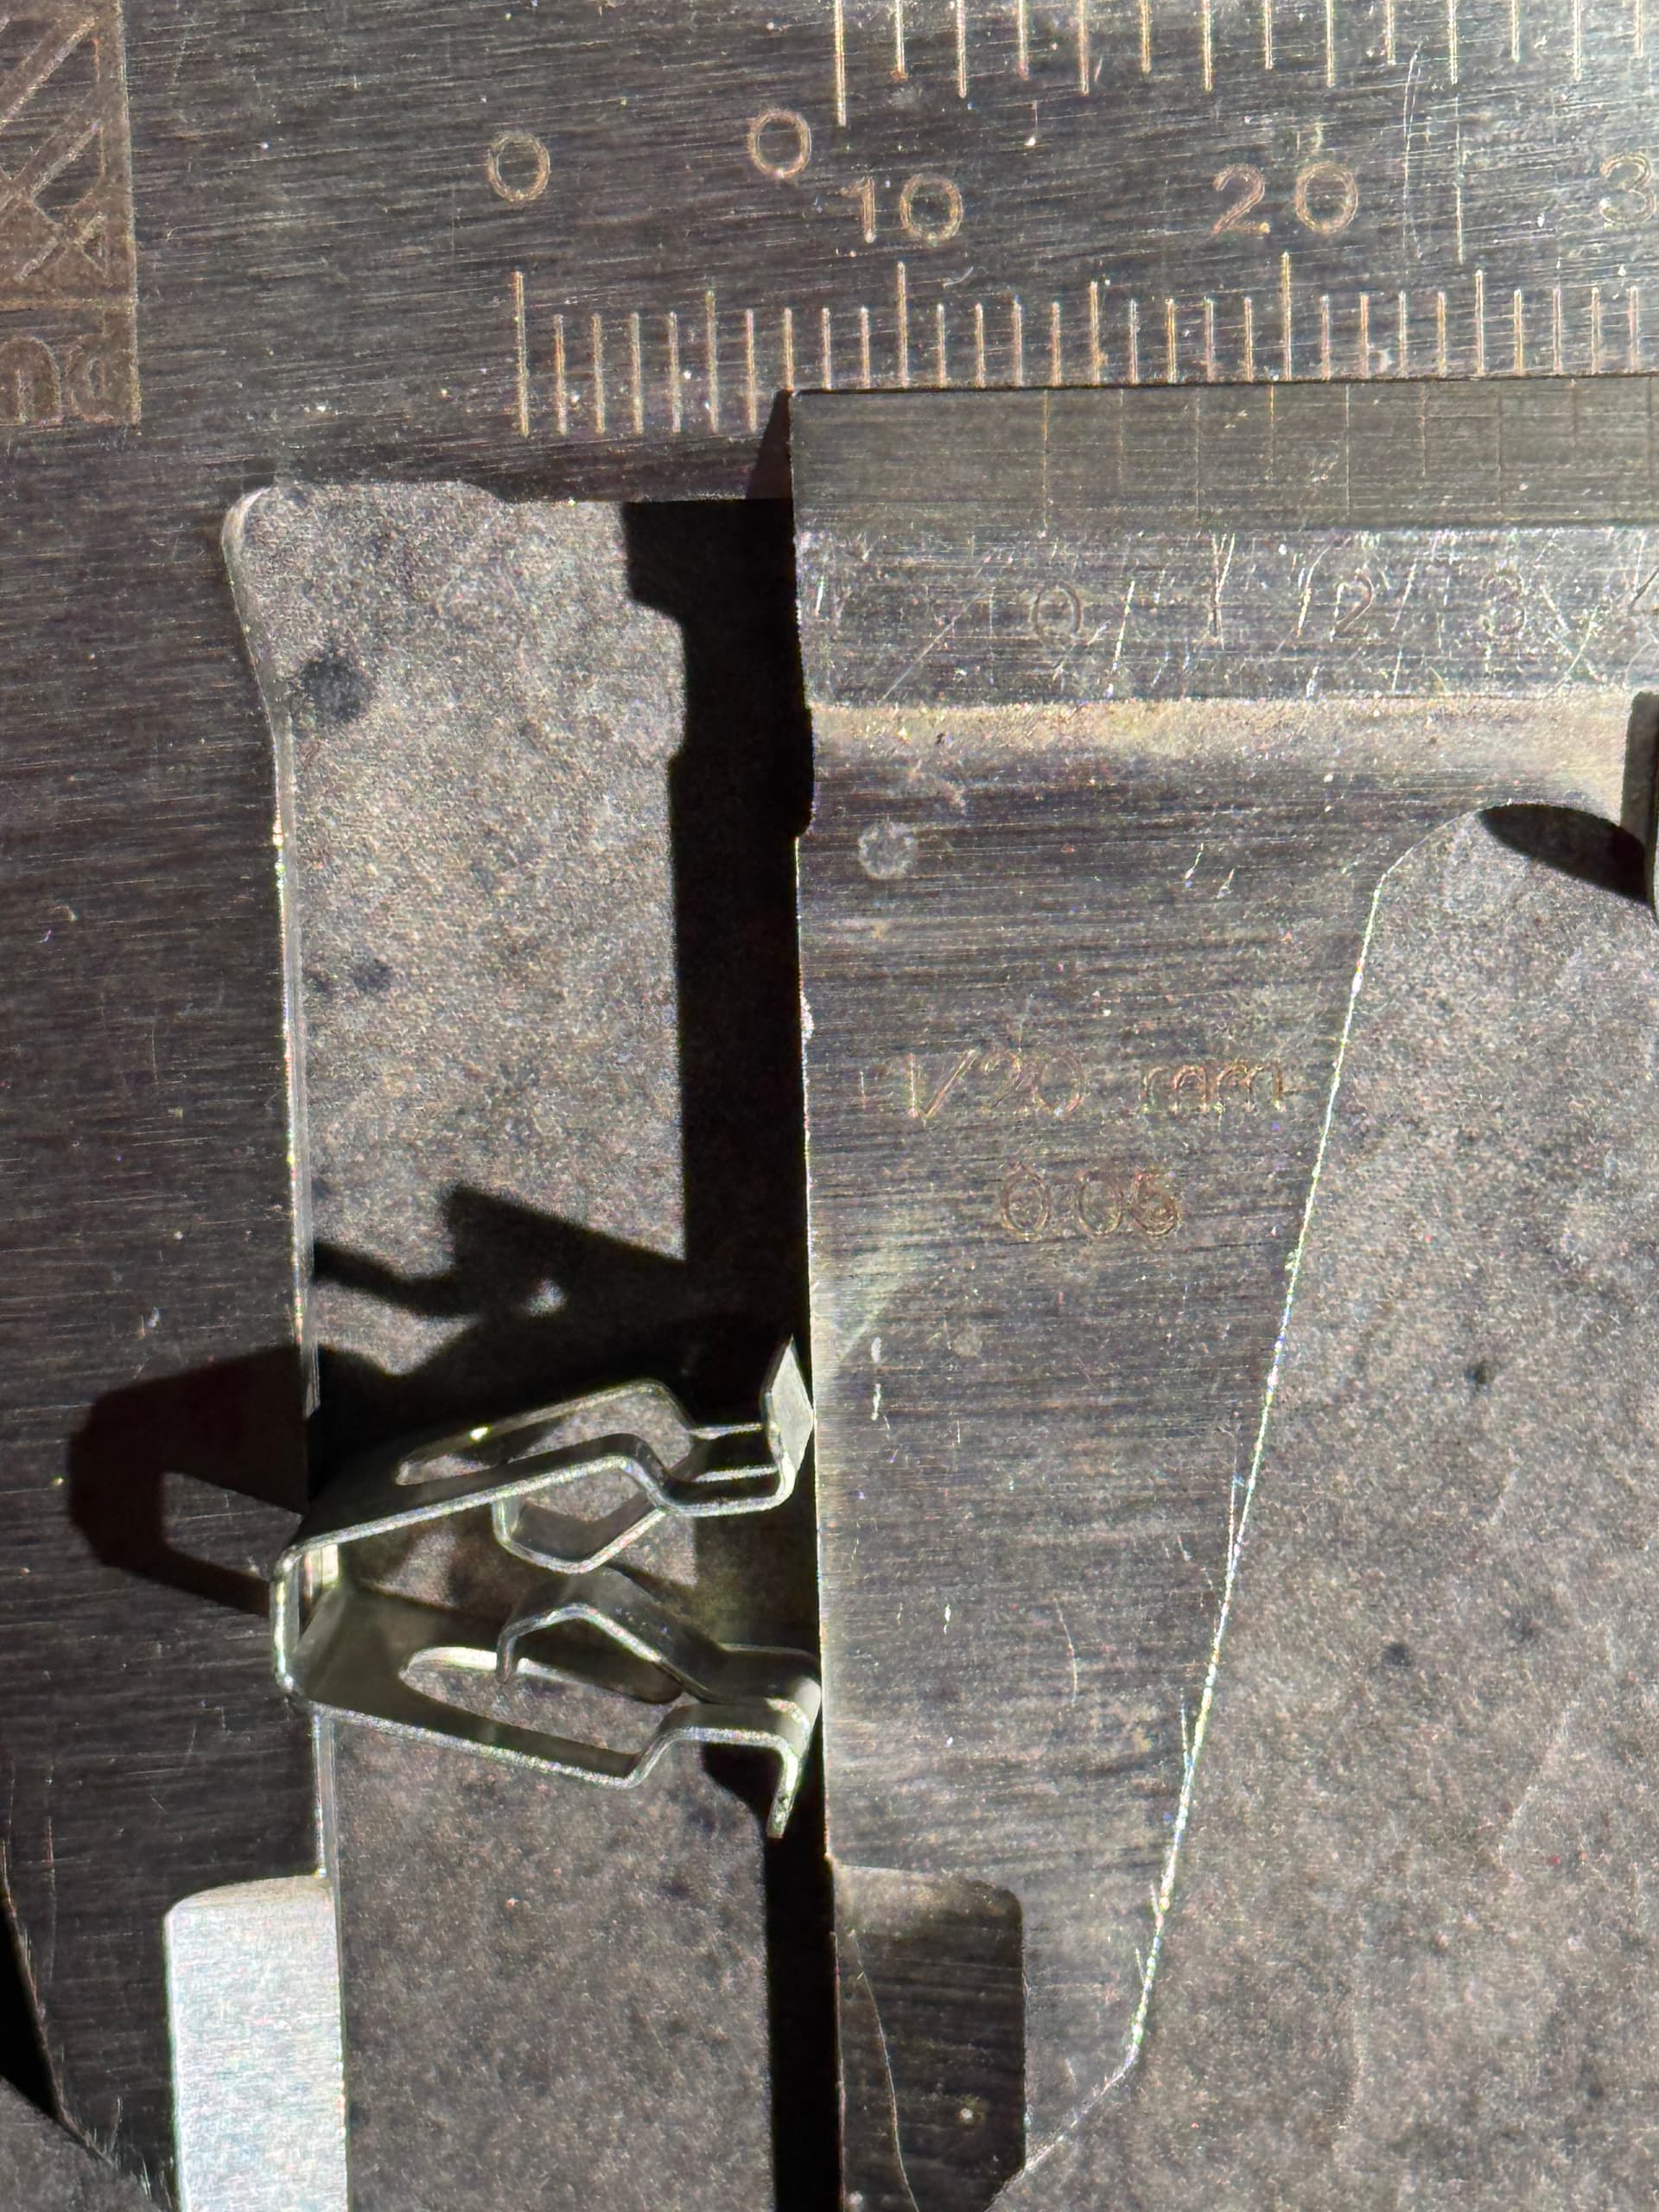
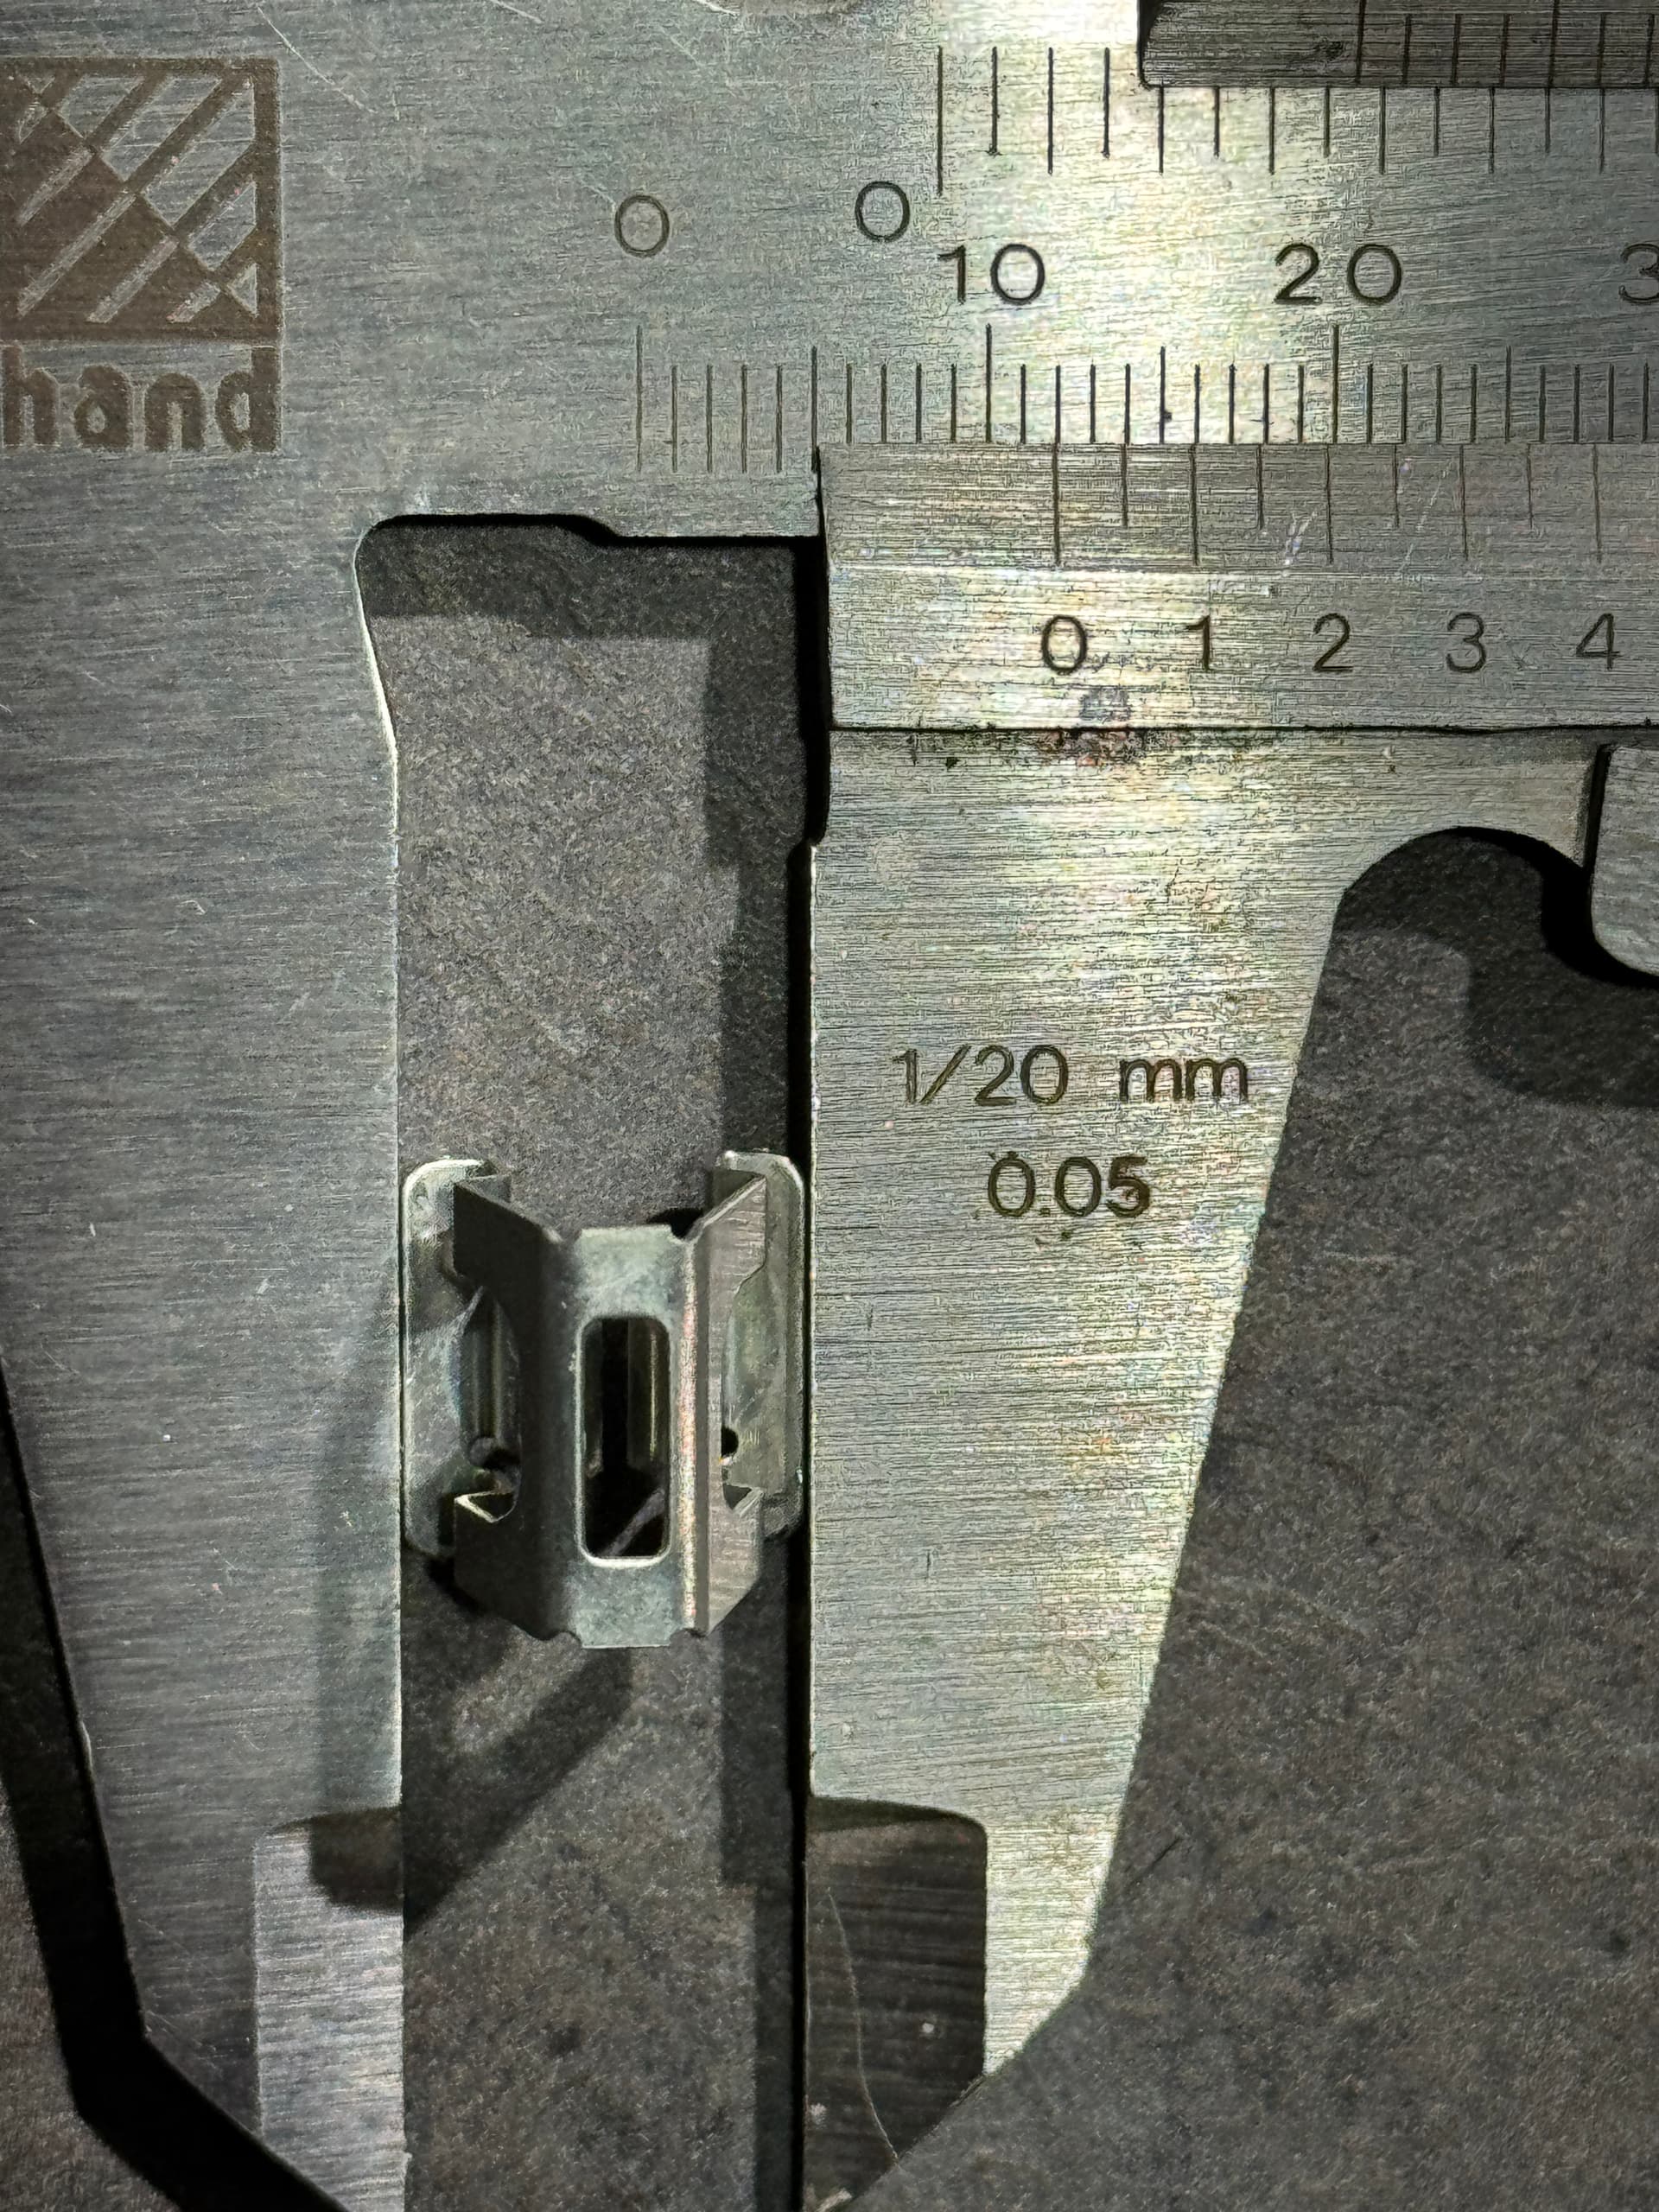
this is the broken clip.
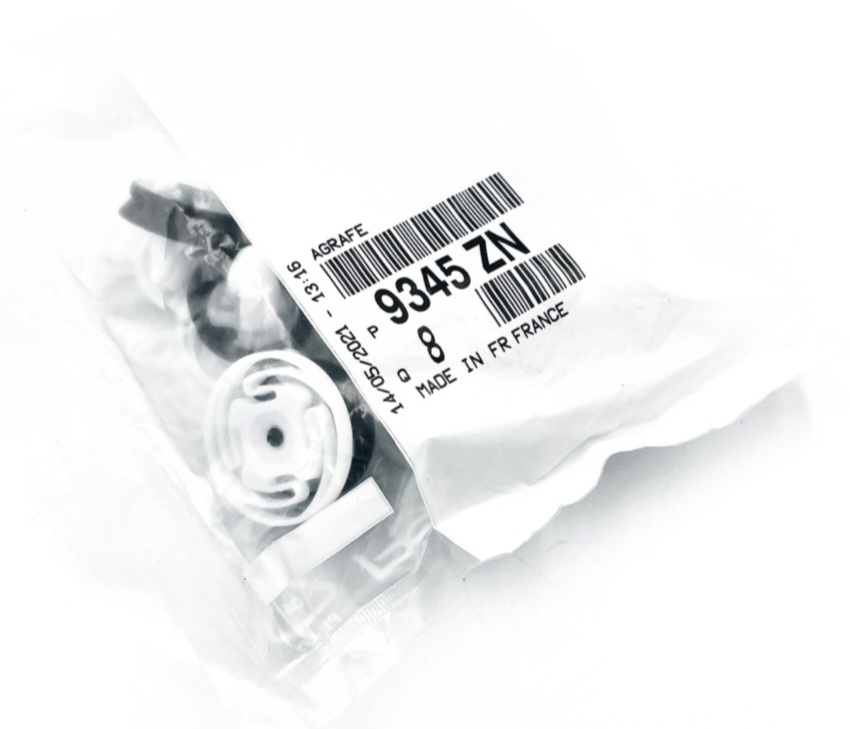
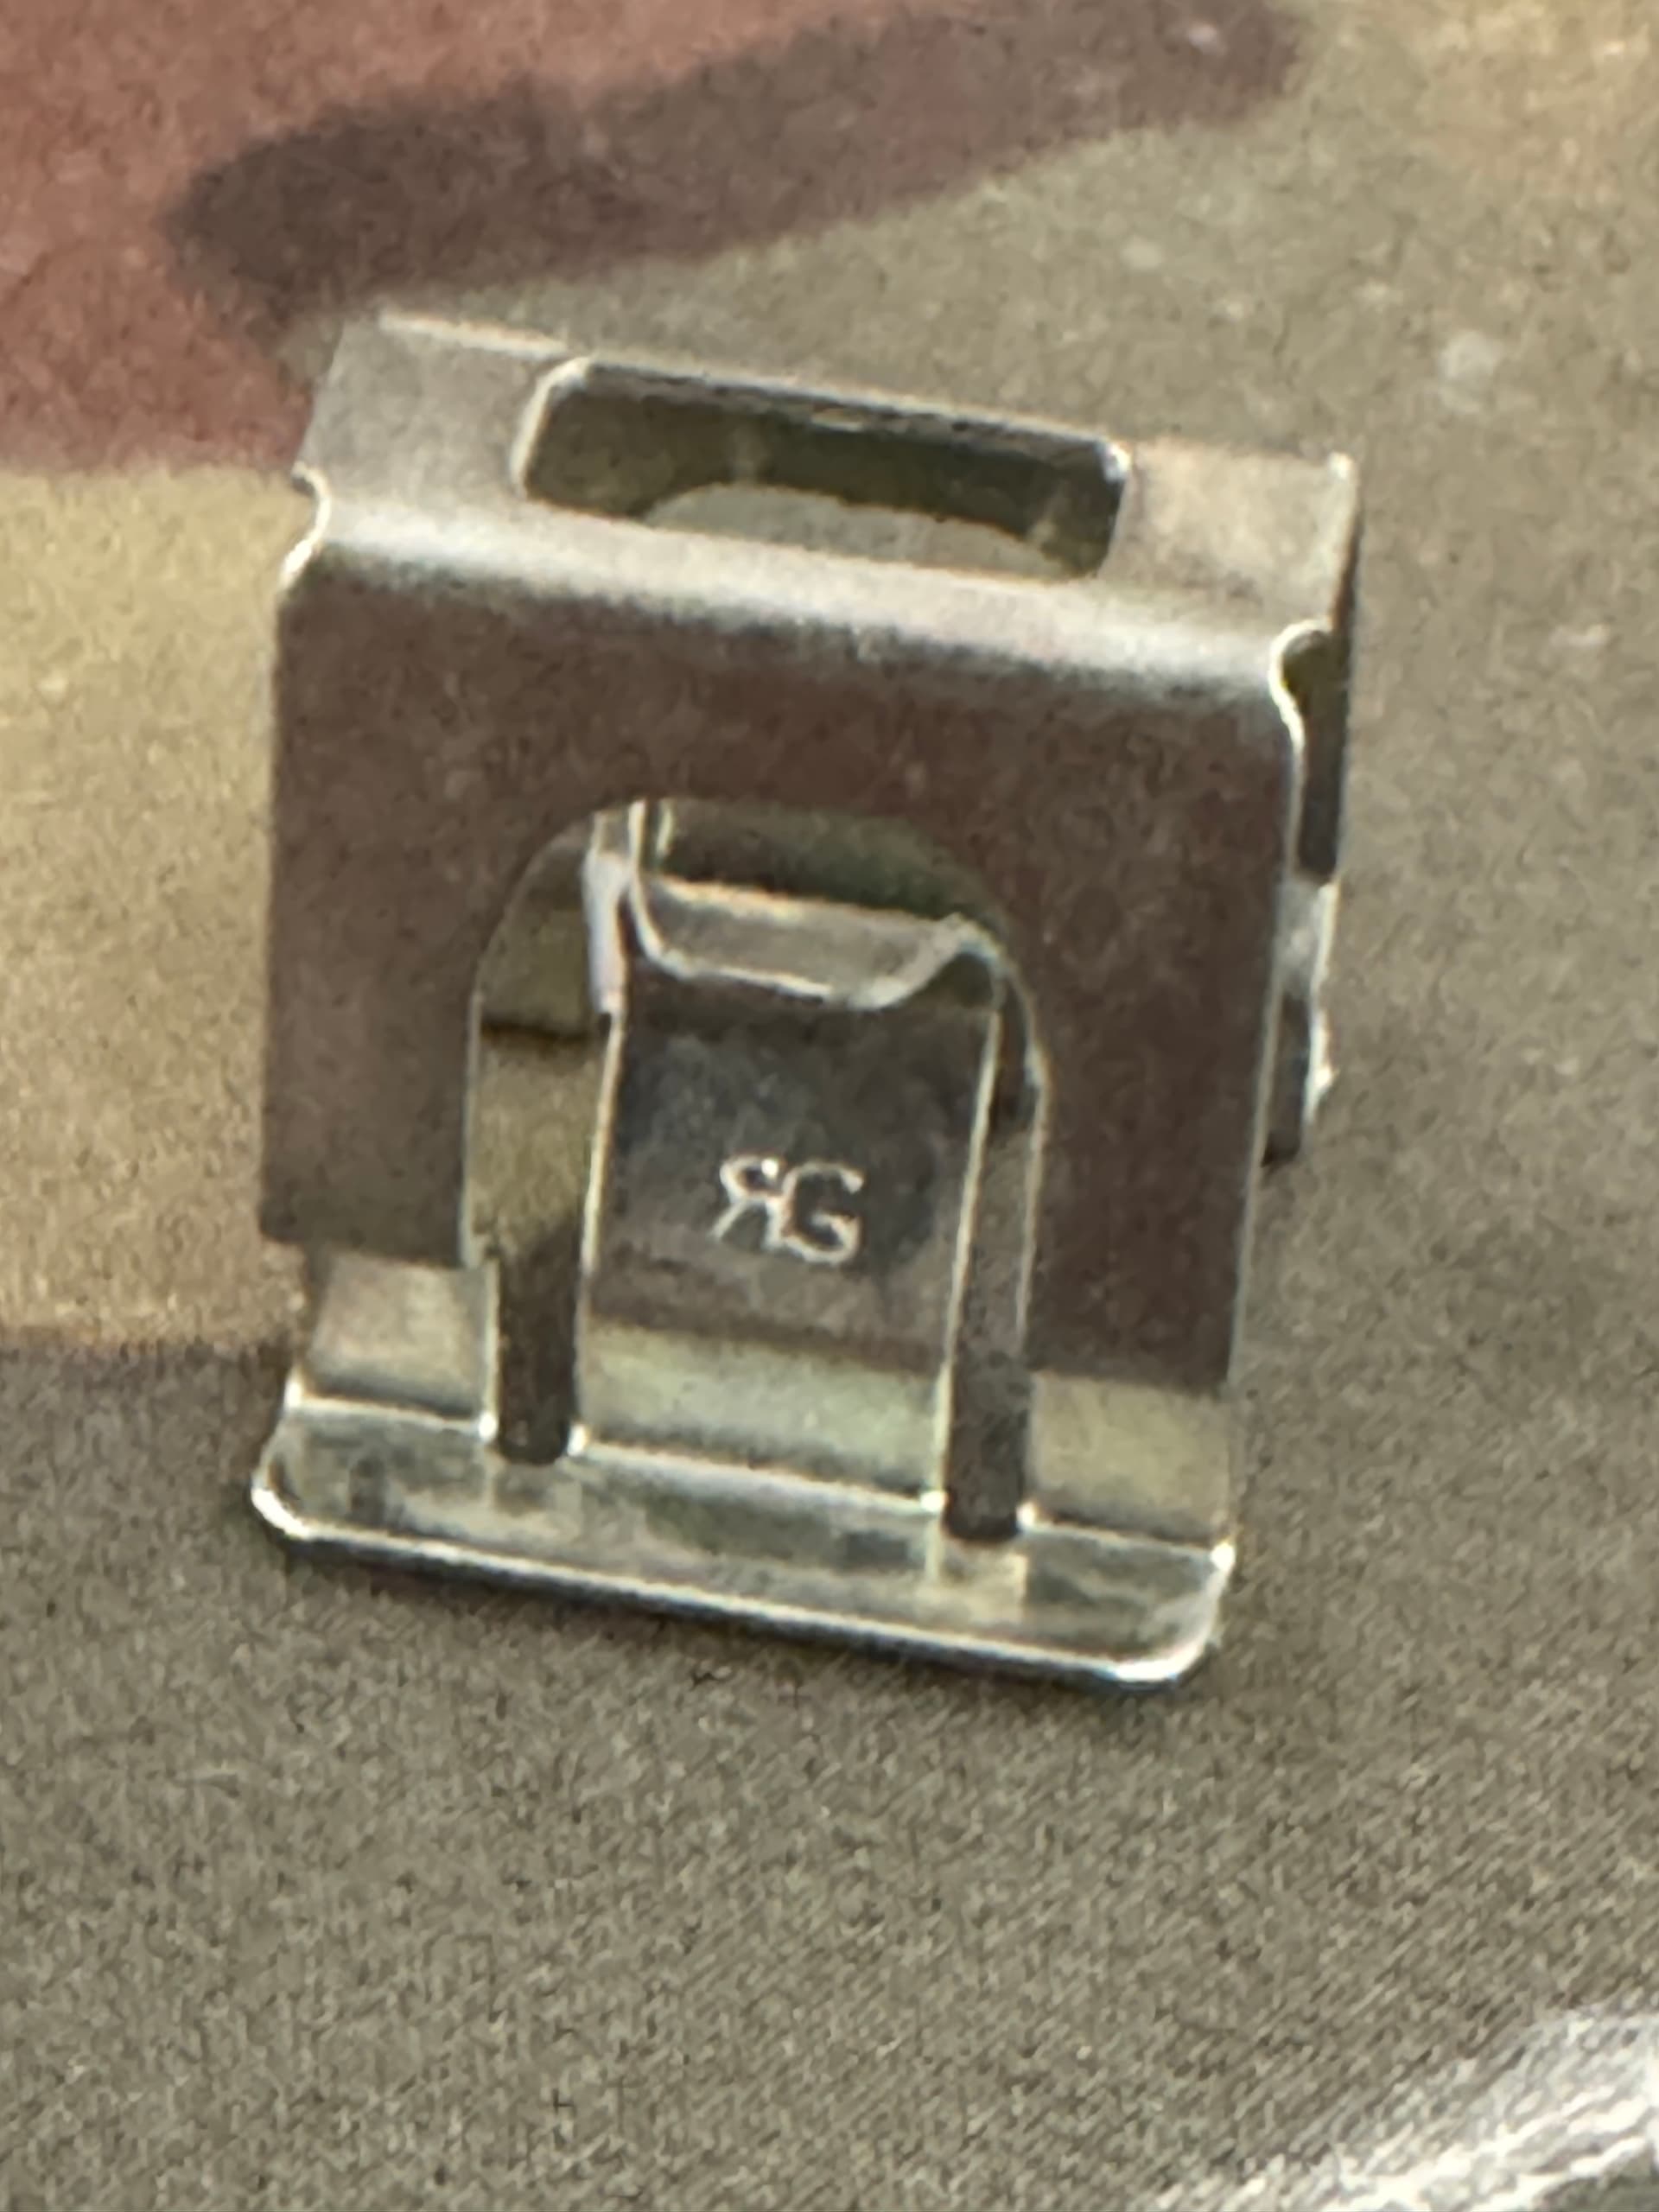
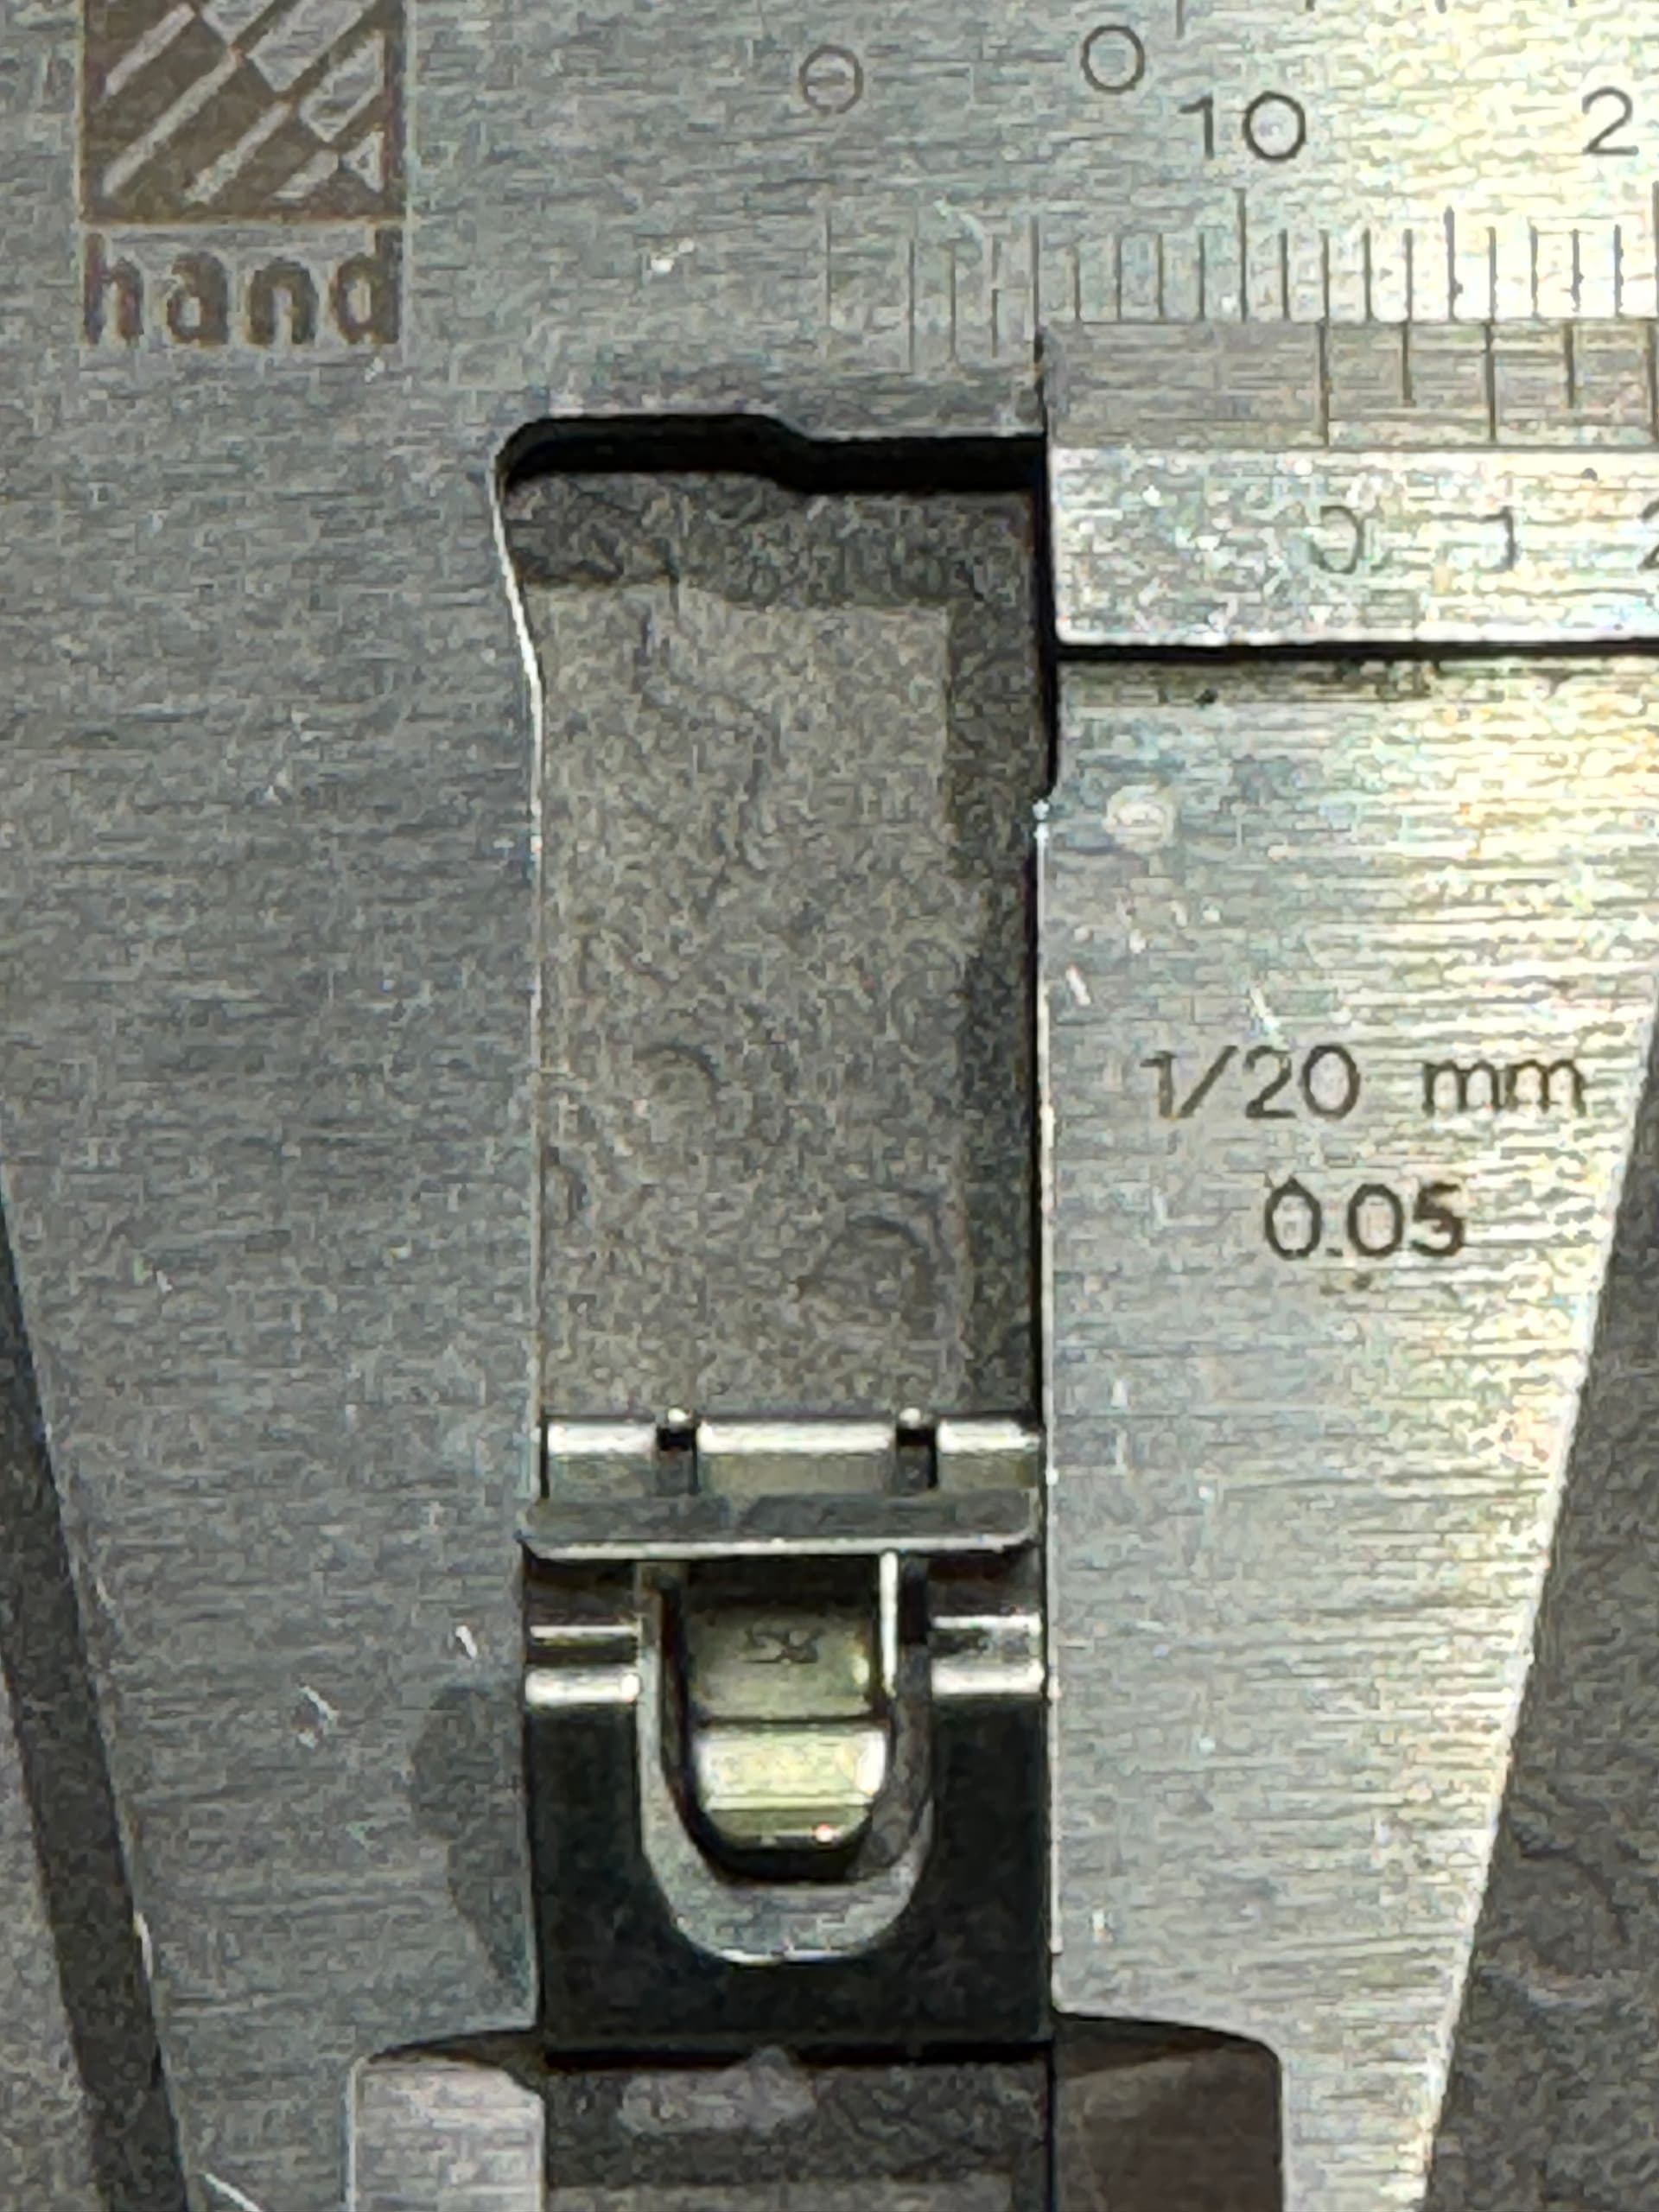
then now I would like to replace it, so, do you all know the part number of this original clip?
here are some pics and measures of the original and intact one.
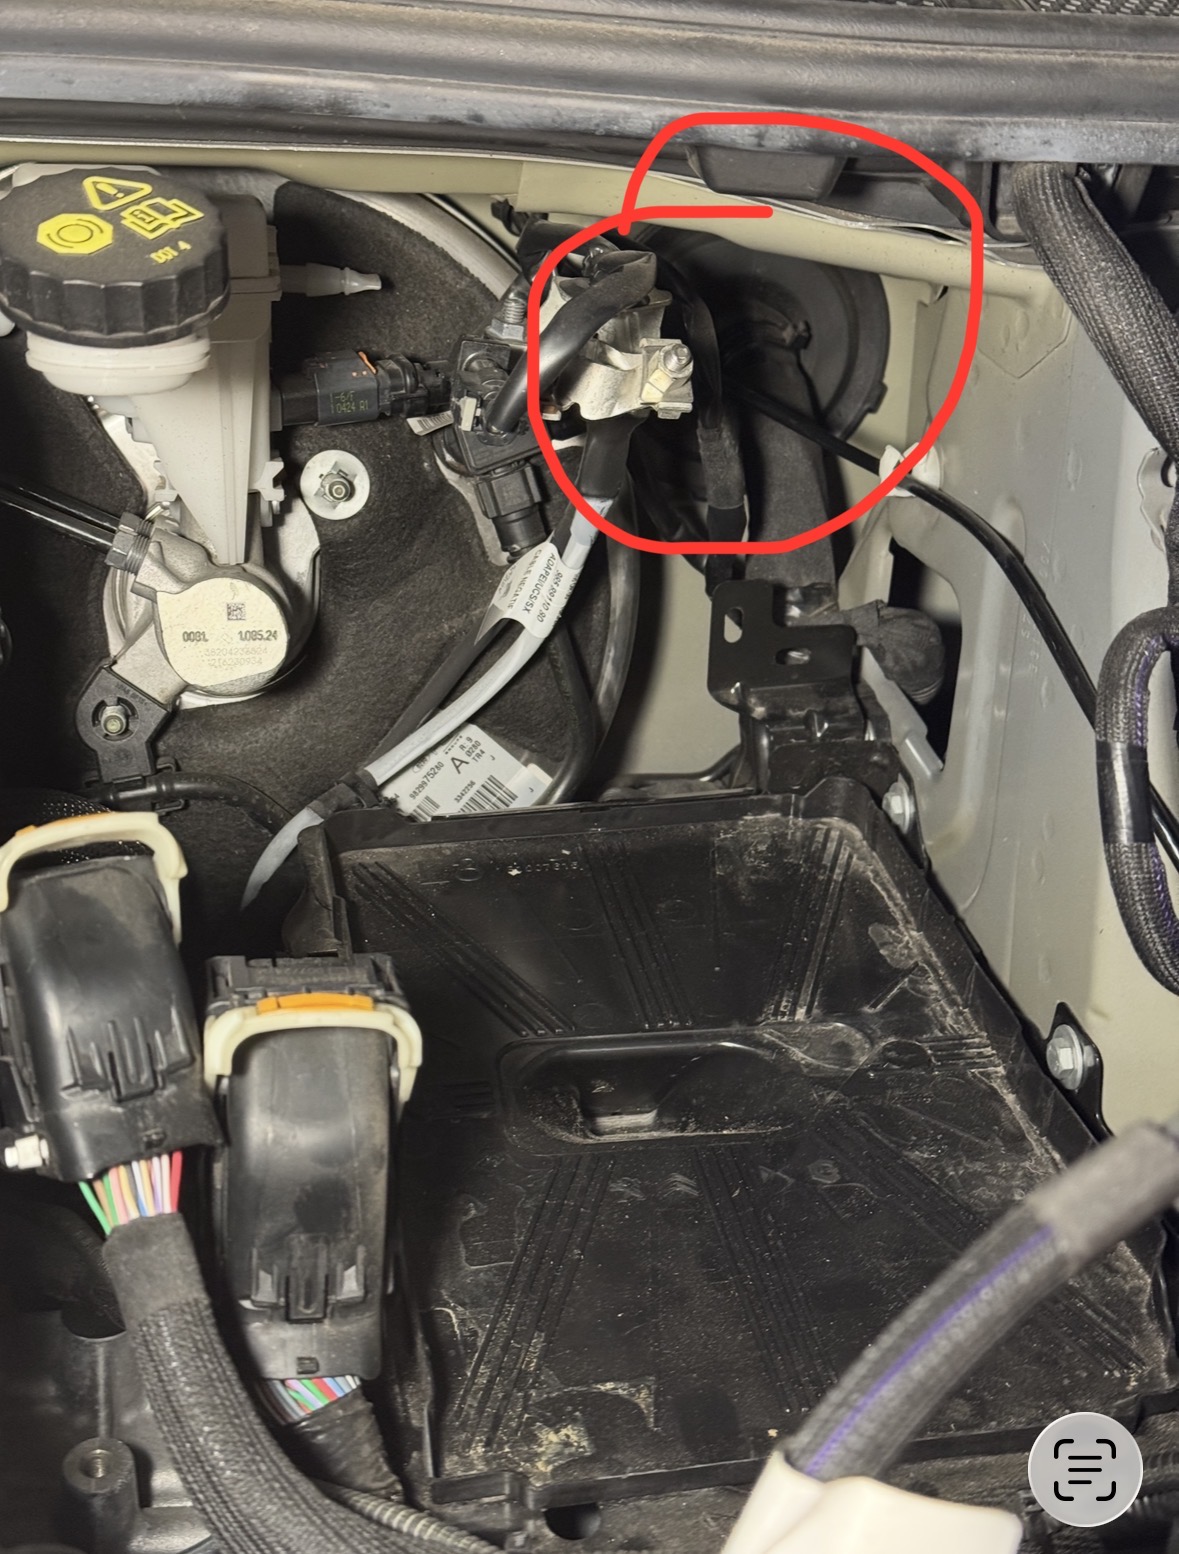
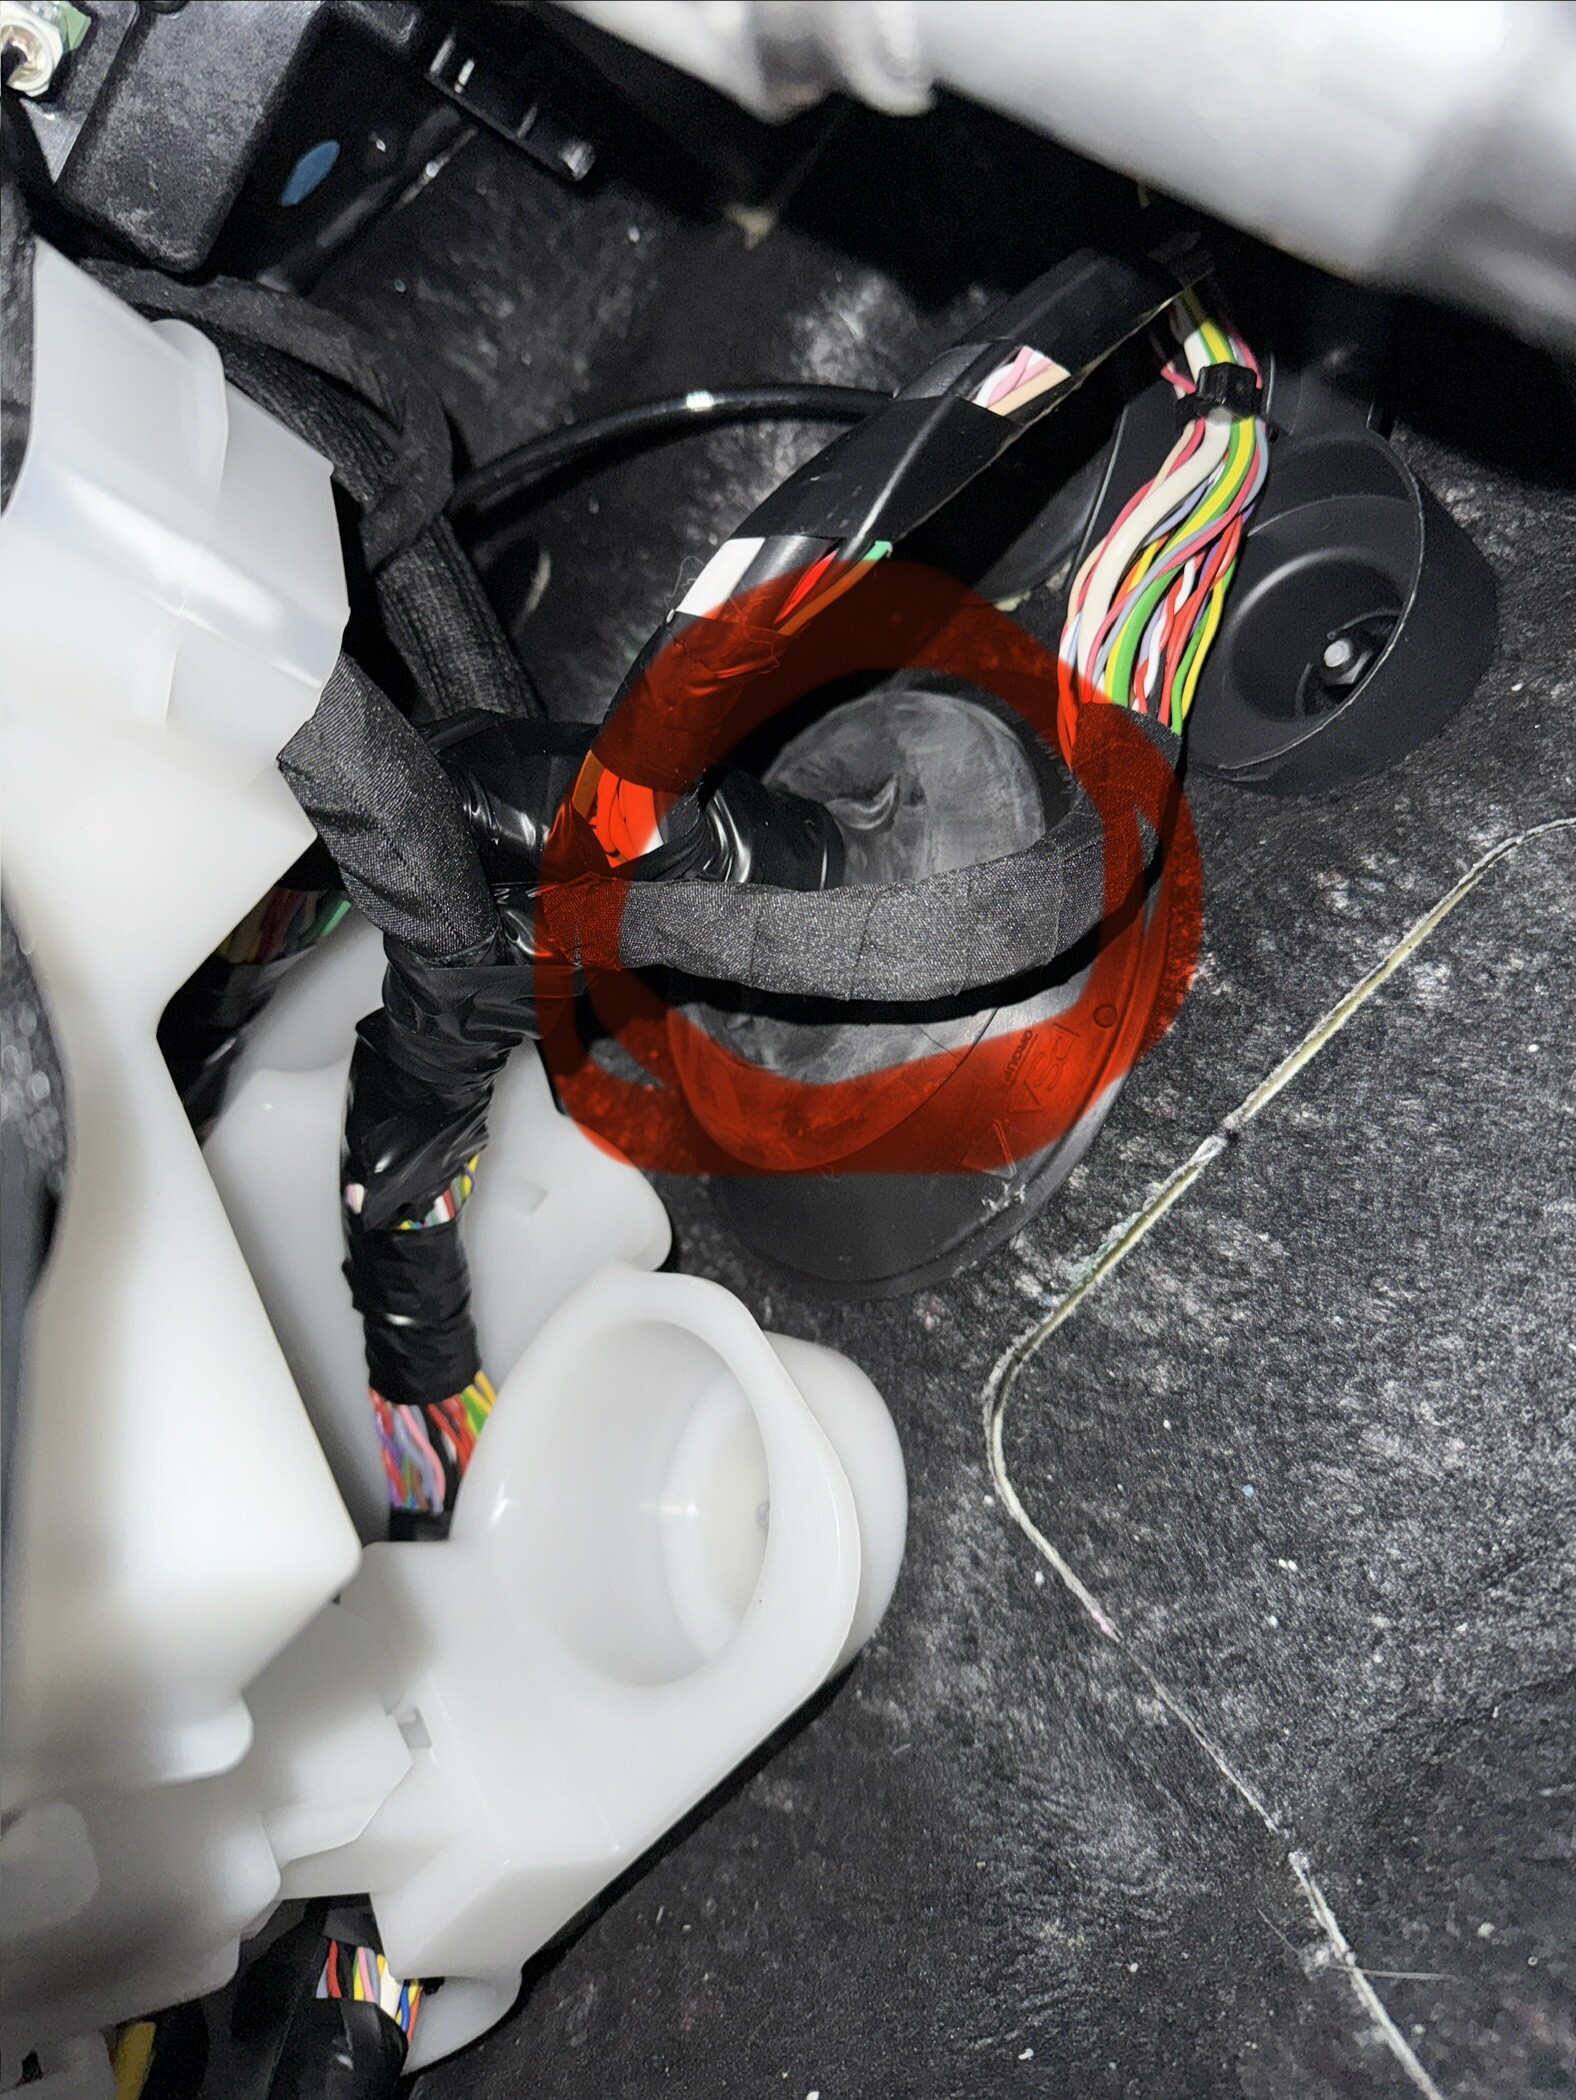
In red the main cable wiring that goes to the car from engine bay. Have you used this to pass your power cable? Have you created an hole on the rubber or just putting some strenght you have enlarged the main hole?
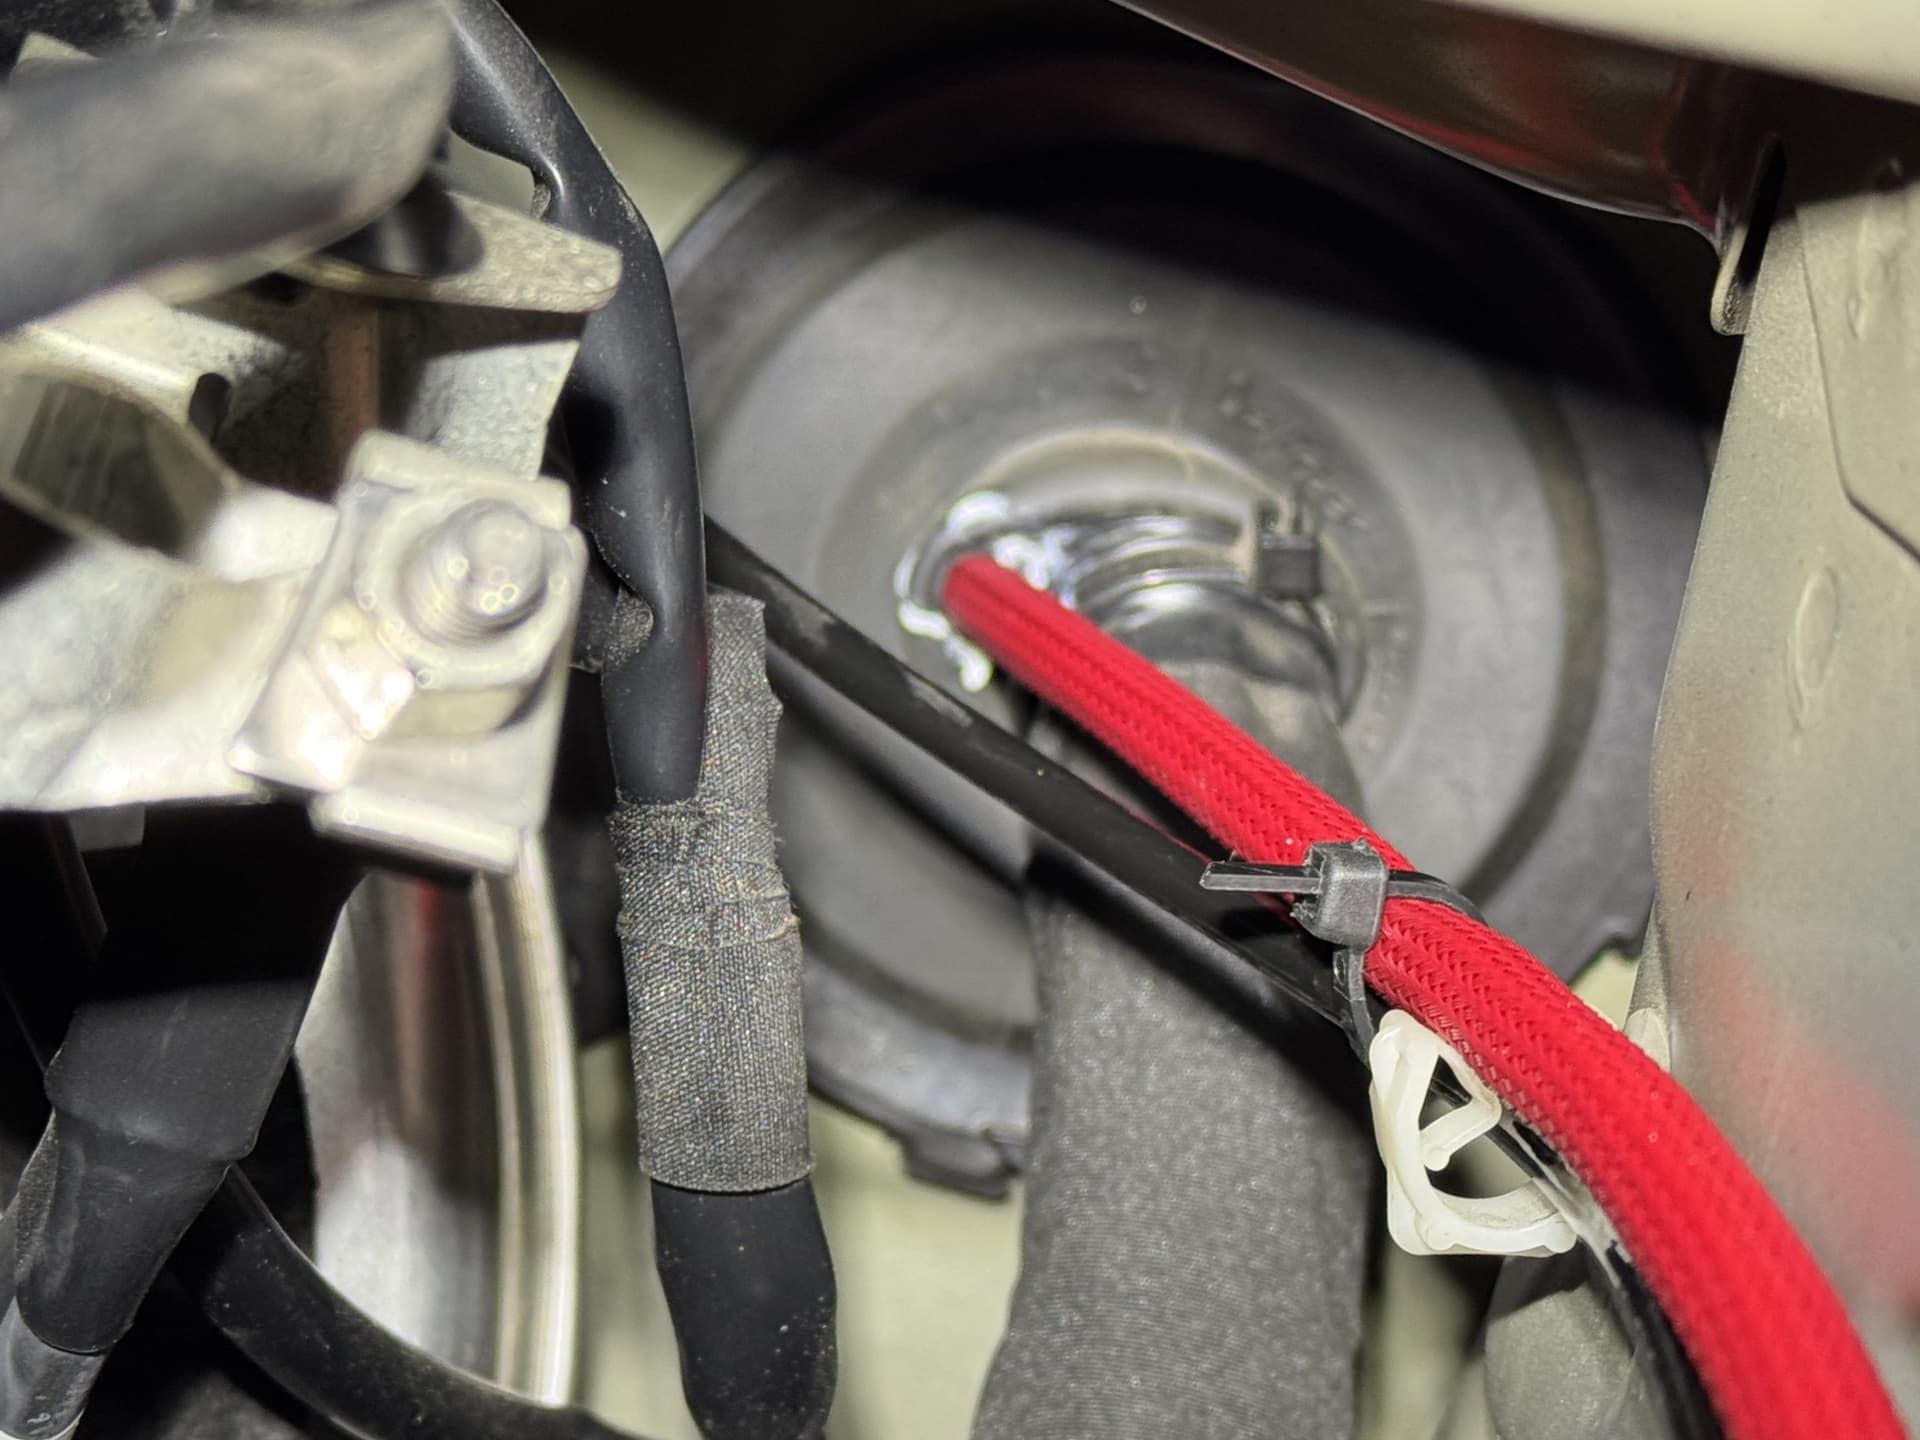
I’m trying with a long screwdriver to create enough space to pass my power cable but I’m a bit scared I should do some damage to the main bunch of wires.
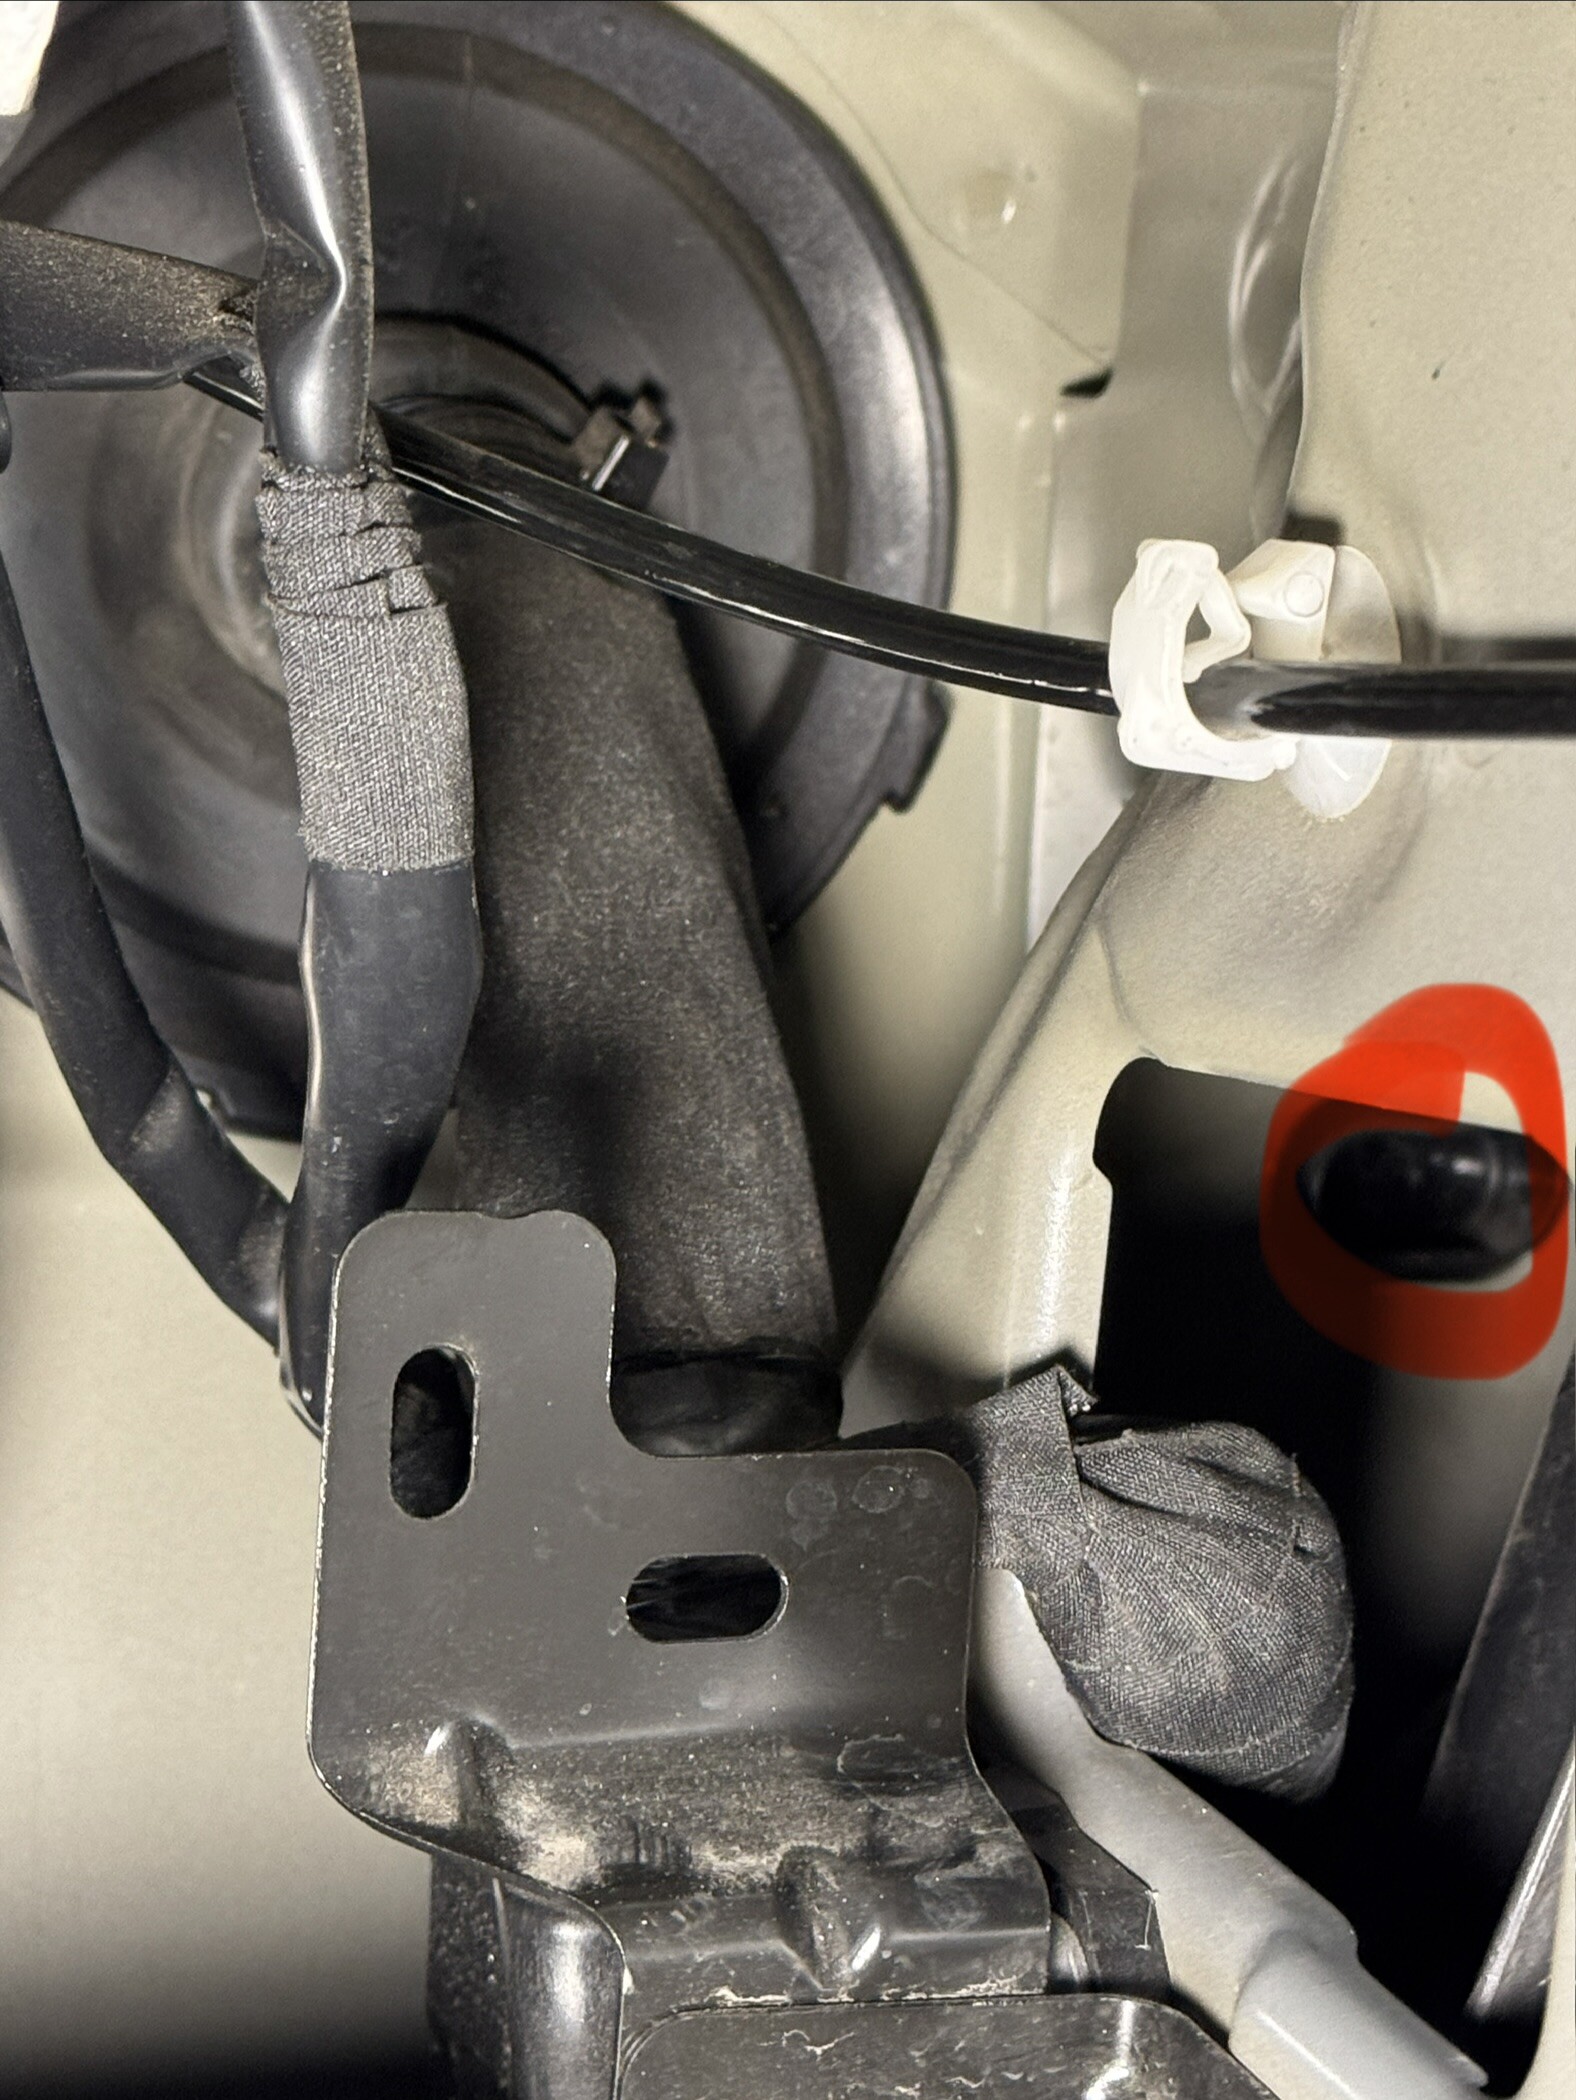
There is a small rubber cap on the right side. It is hard to reach it, but it seems a good alternative way to pass the cable.
I used this location for the front and night vision cameras cables. I didn’t make a hole in the rubber, but rather wedged it between the rubber and the wiring harness. Behind this rubber is another identical piece, so there’s a double seal. I used a thick screwdriver greased with grease to expand the rubber. Of course, the zip tie needs to be removed.
Super fast reply! Thank you!
And from the car side, close to the pedals, you arrived to this big rubber cap, is that correct?
This big rubber cap is behind the fusebox, under the steering wheel.
The same route, but additional sealing is needed on the sides of cable 8. This can be done with a rubber triangle, for example. The camera cables are 3mm in diameter, so I didn’t use any extra sealing.
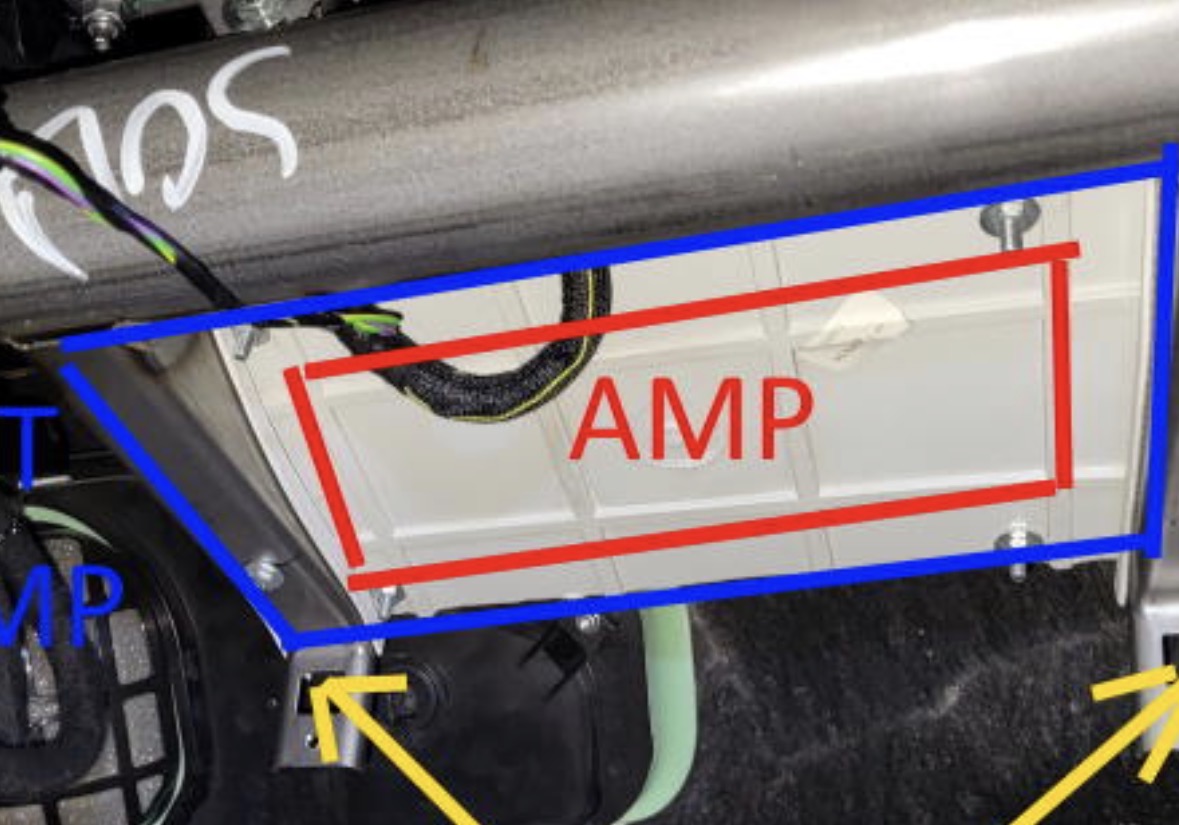
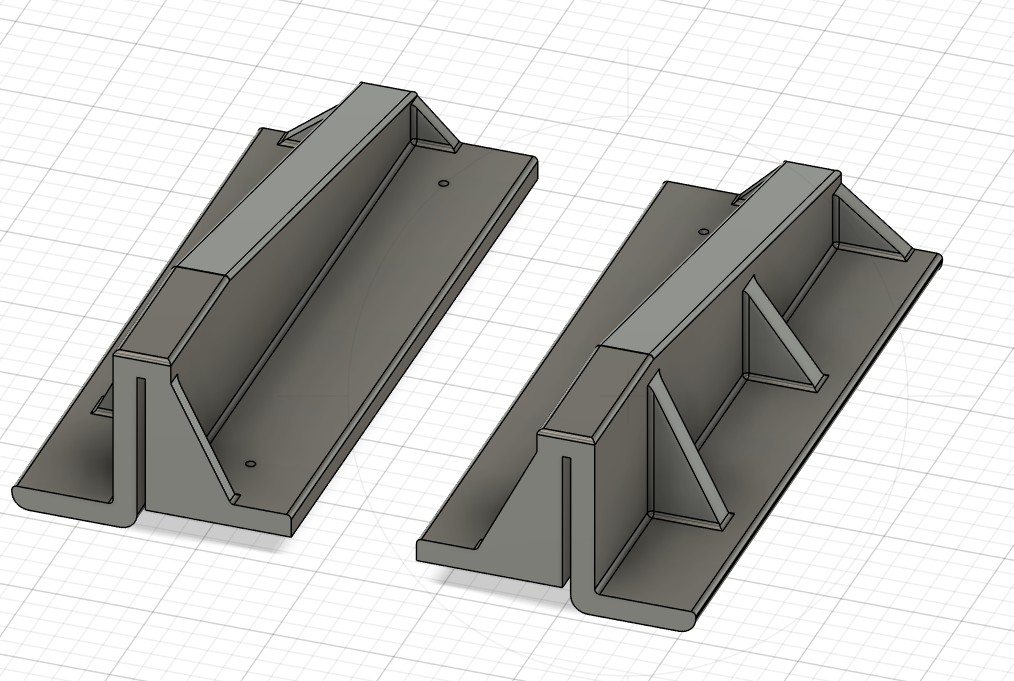
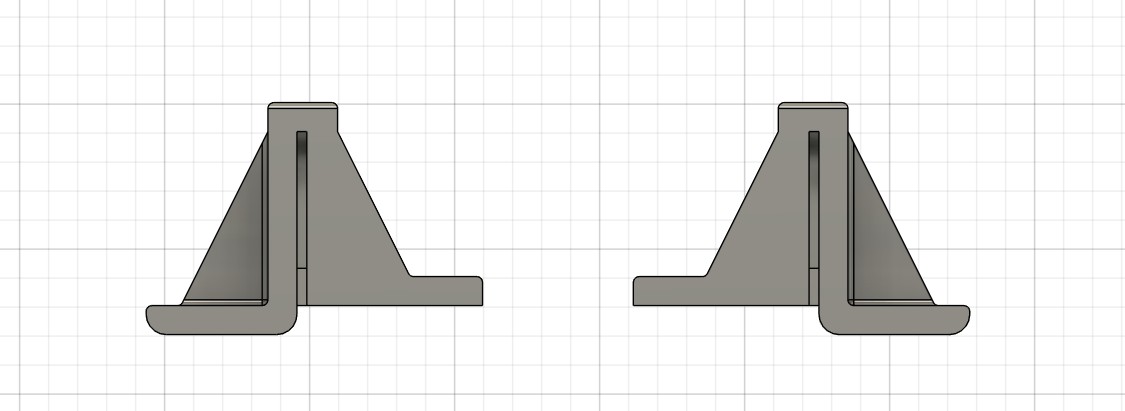
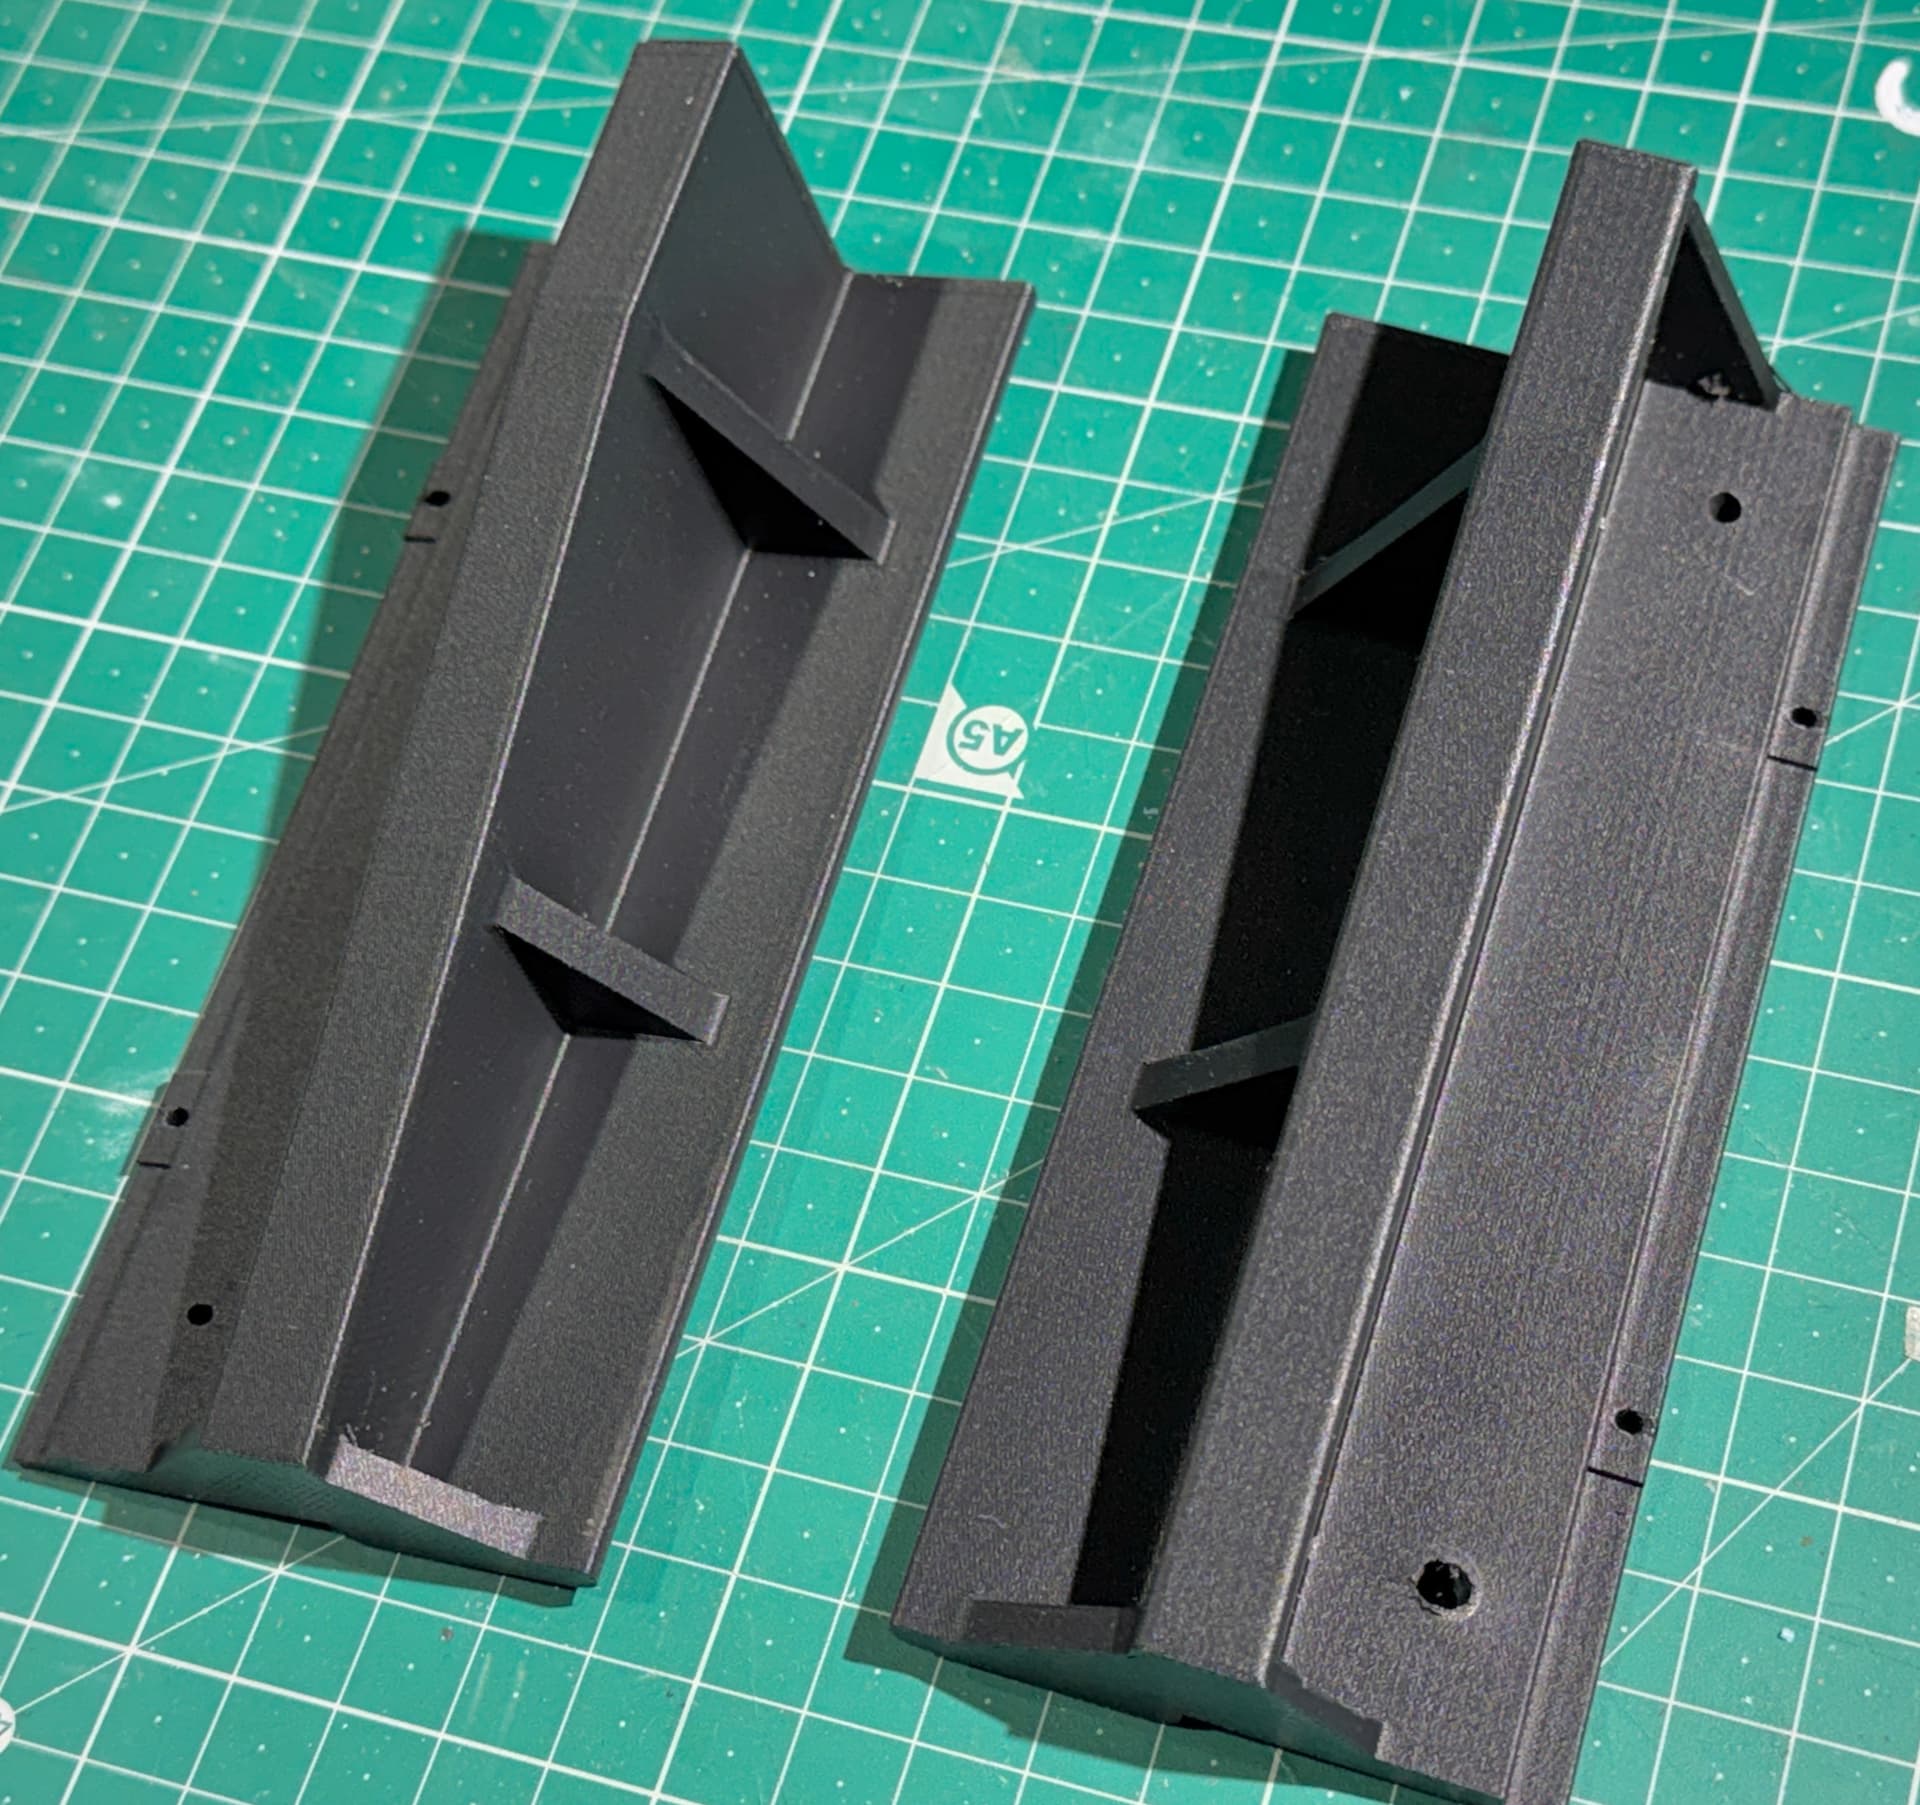
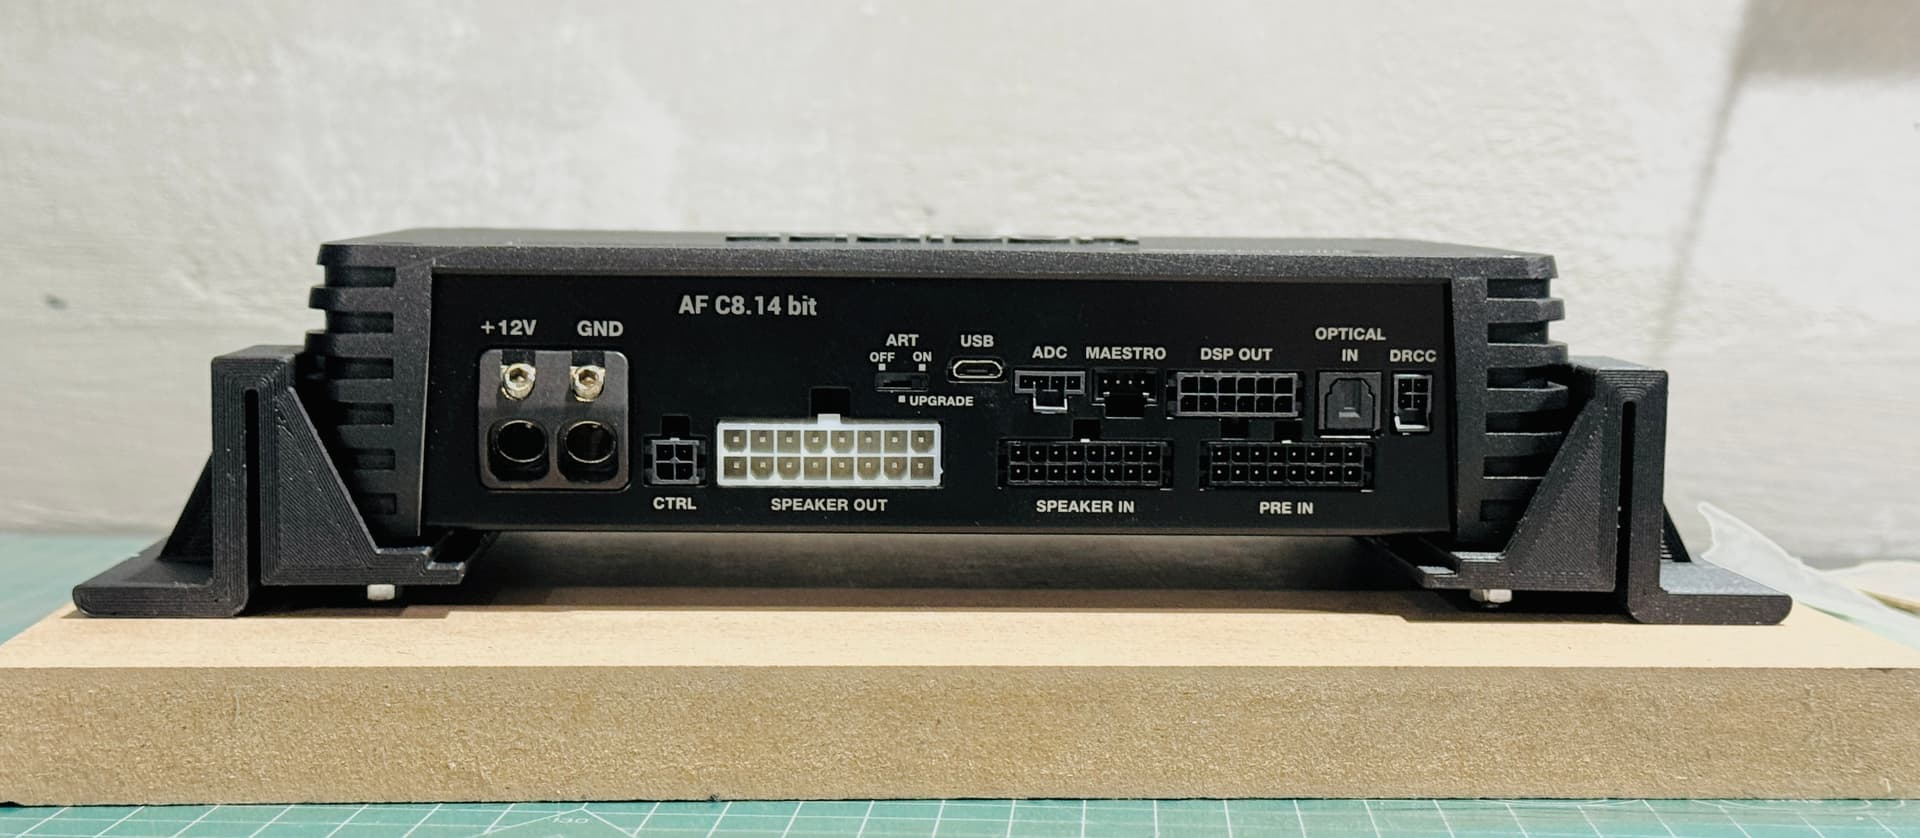
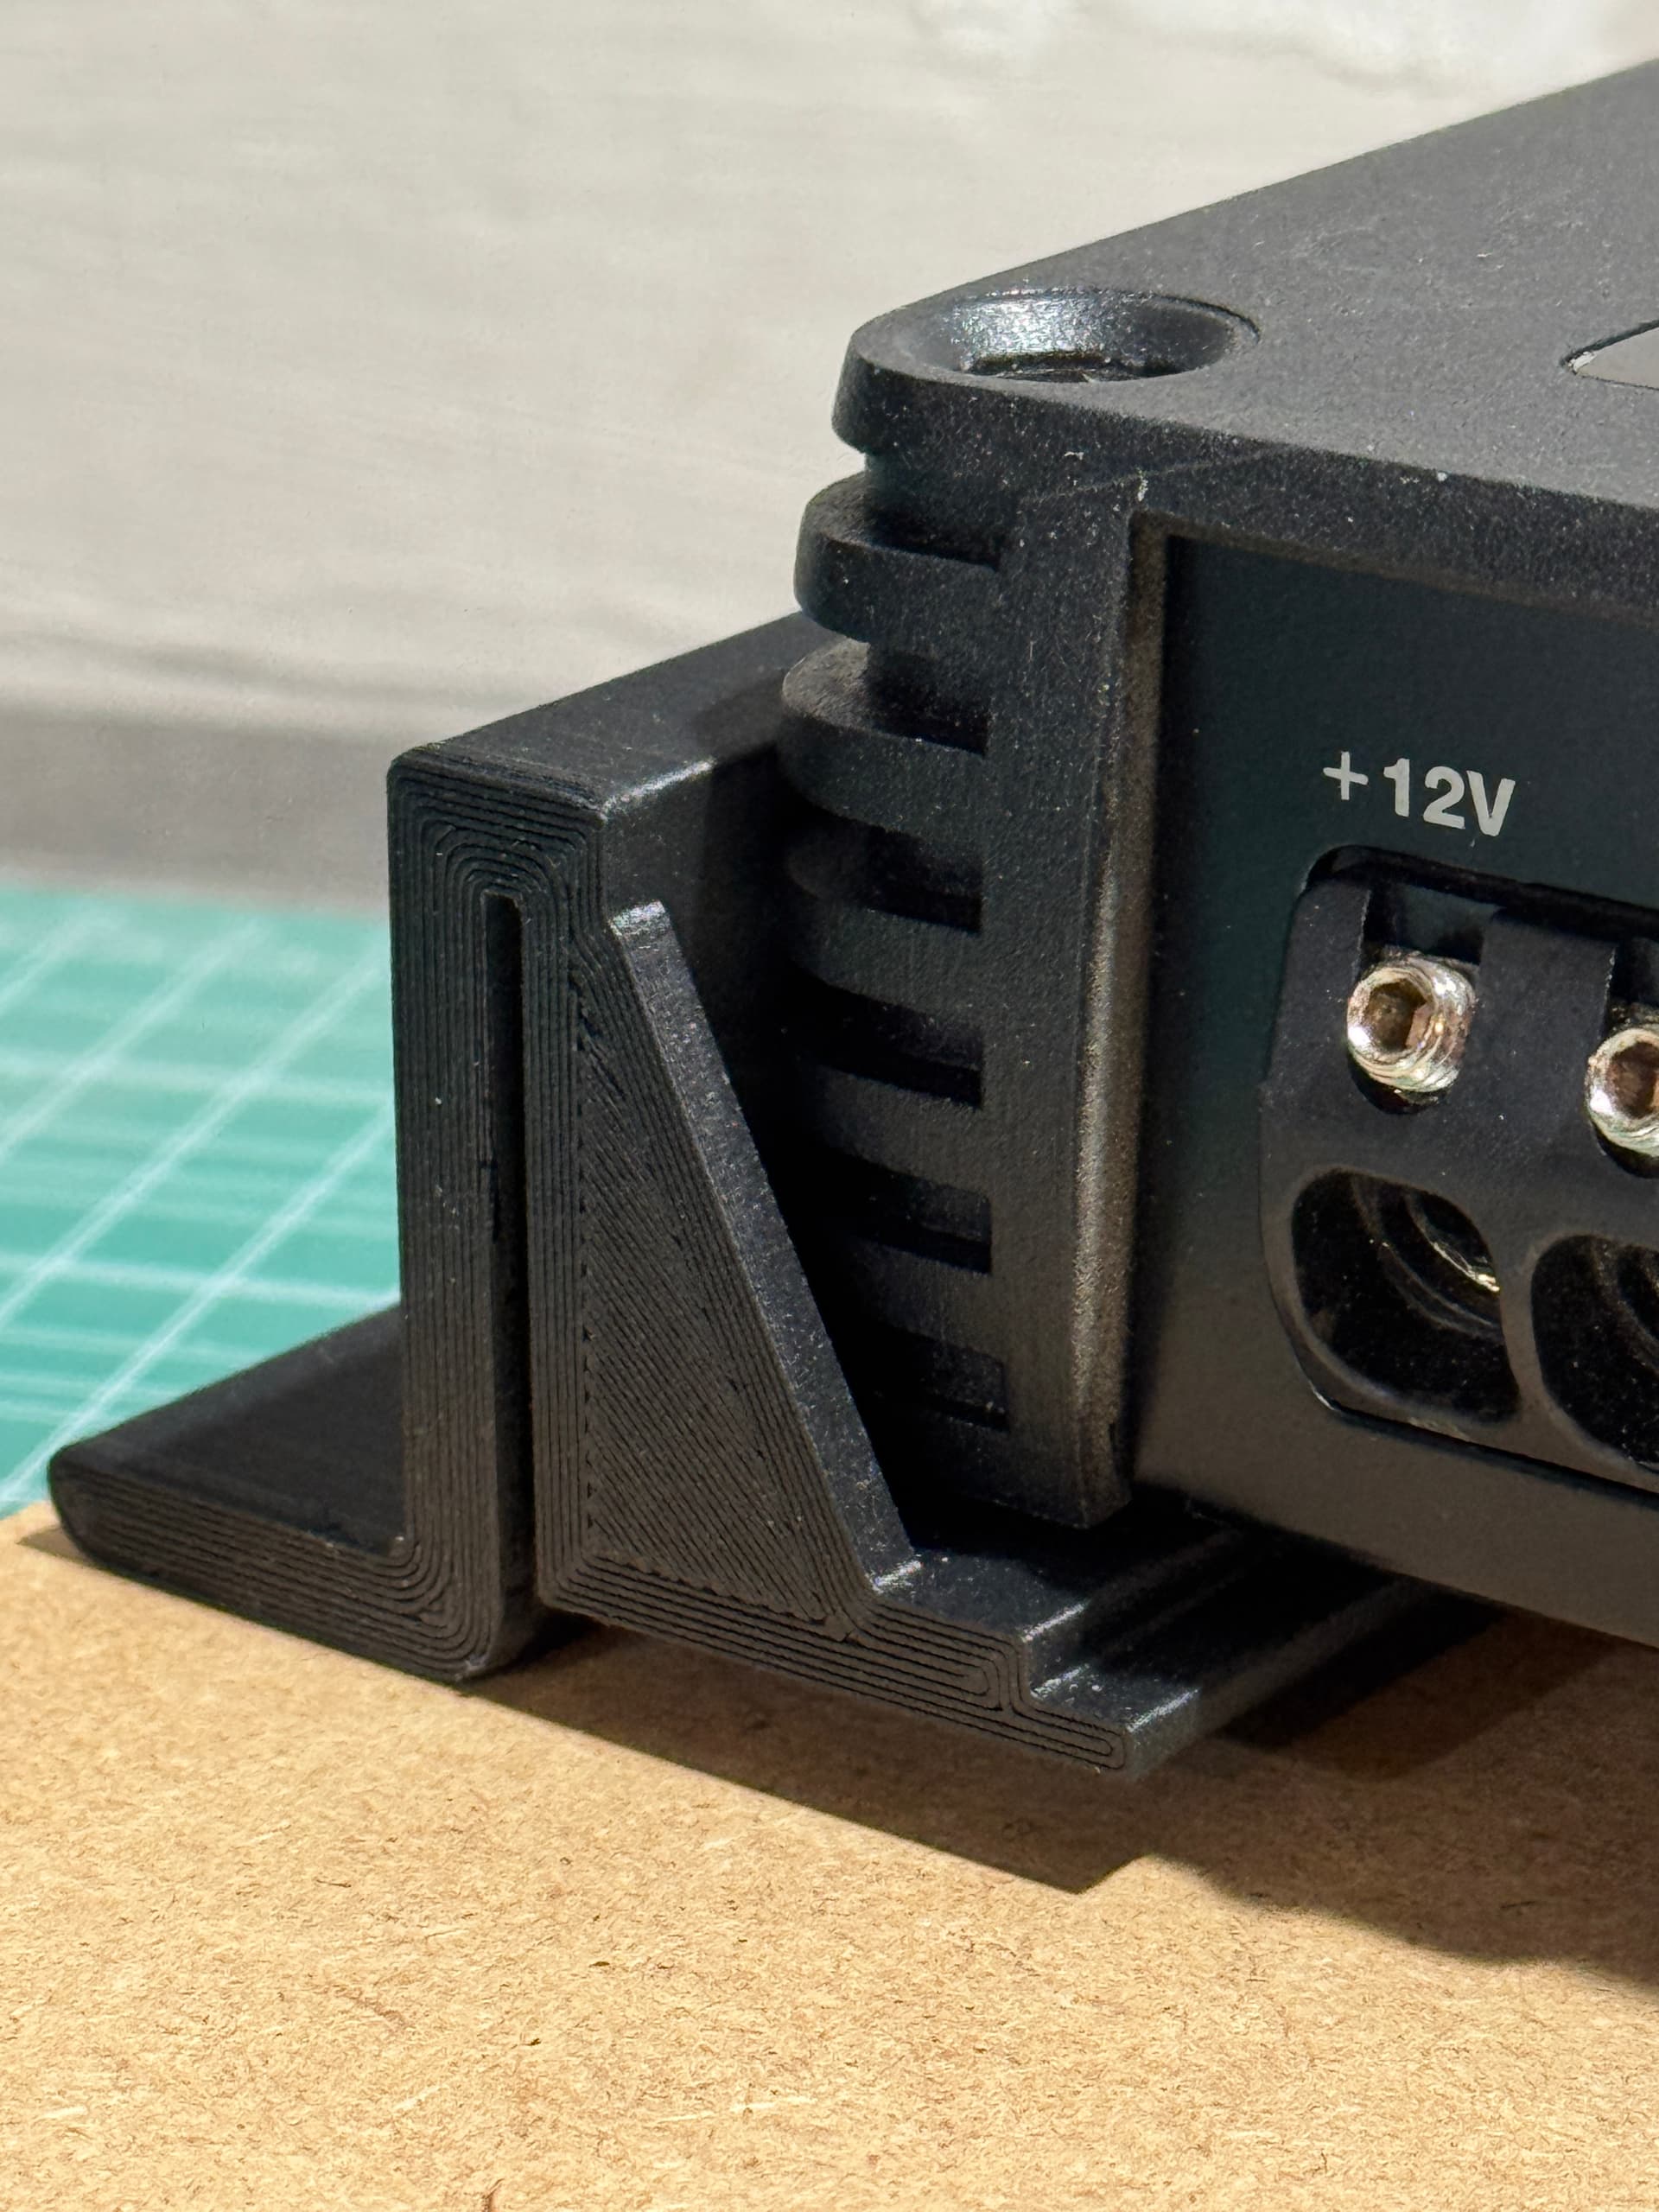
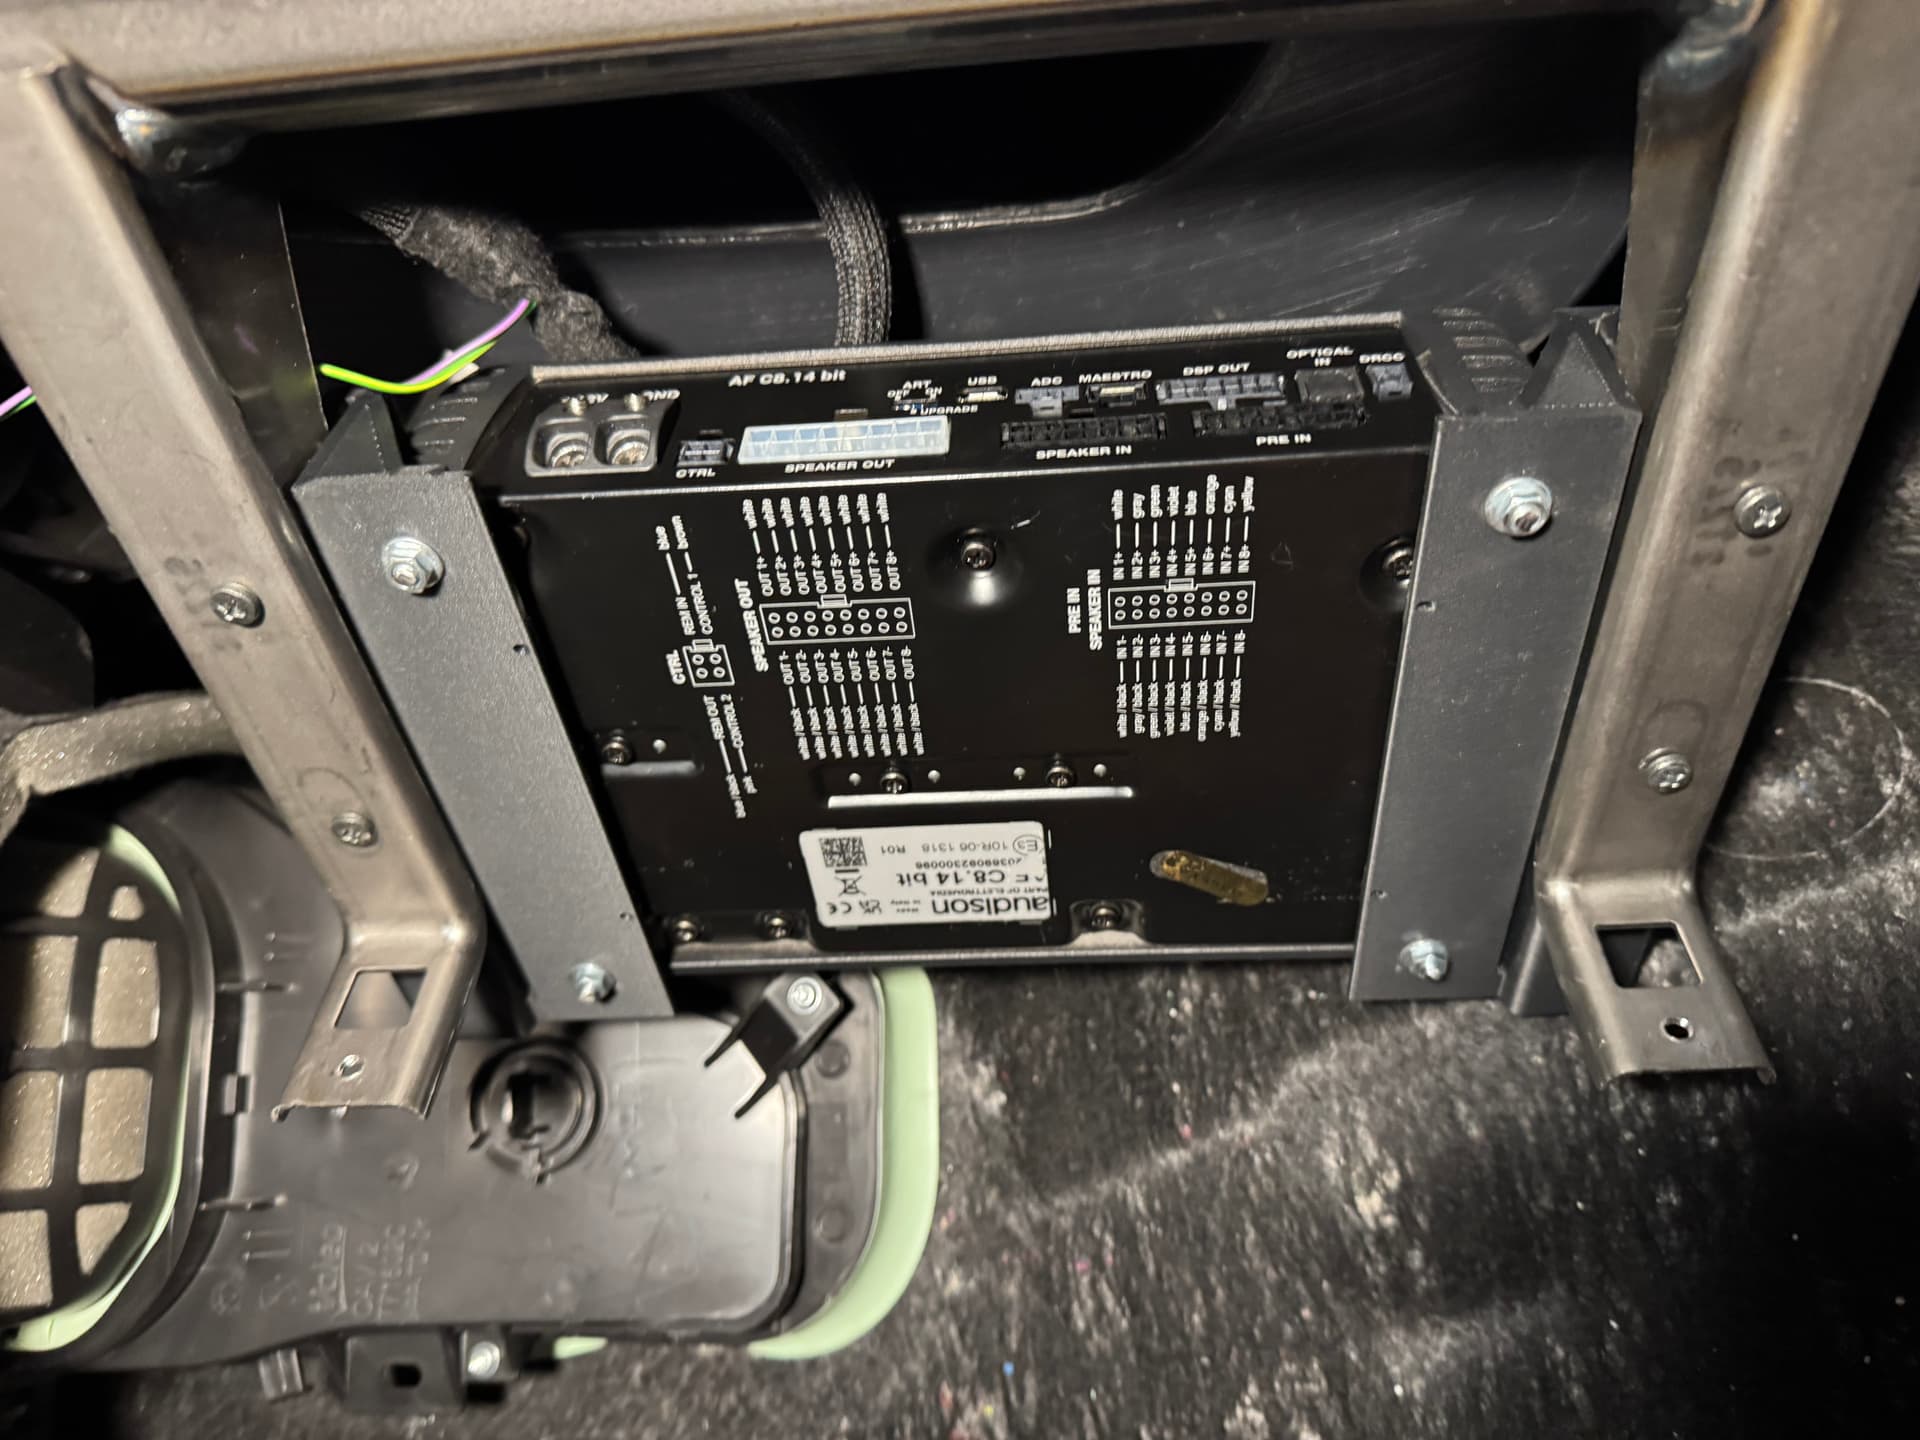
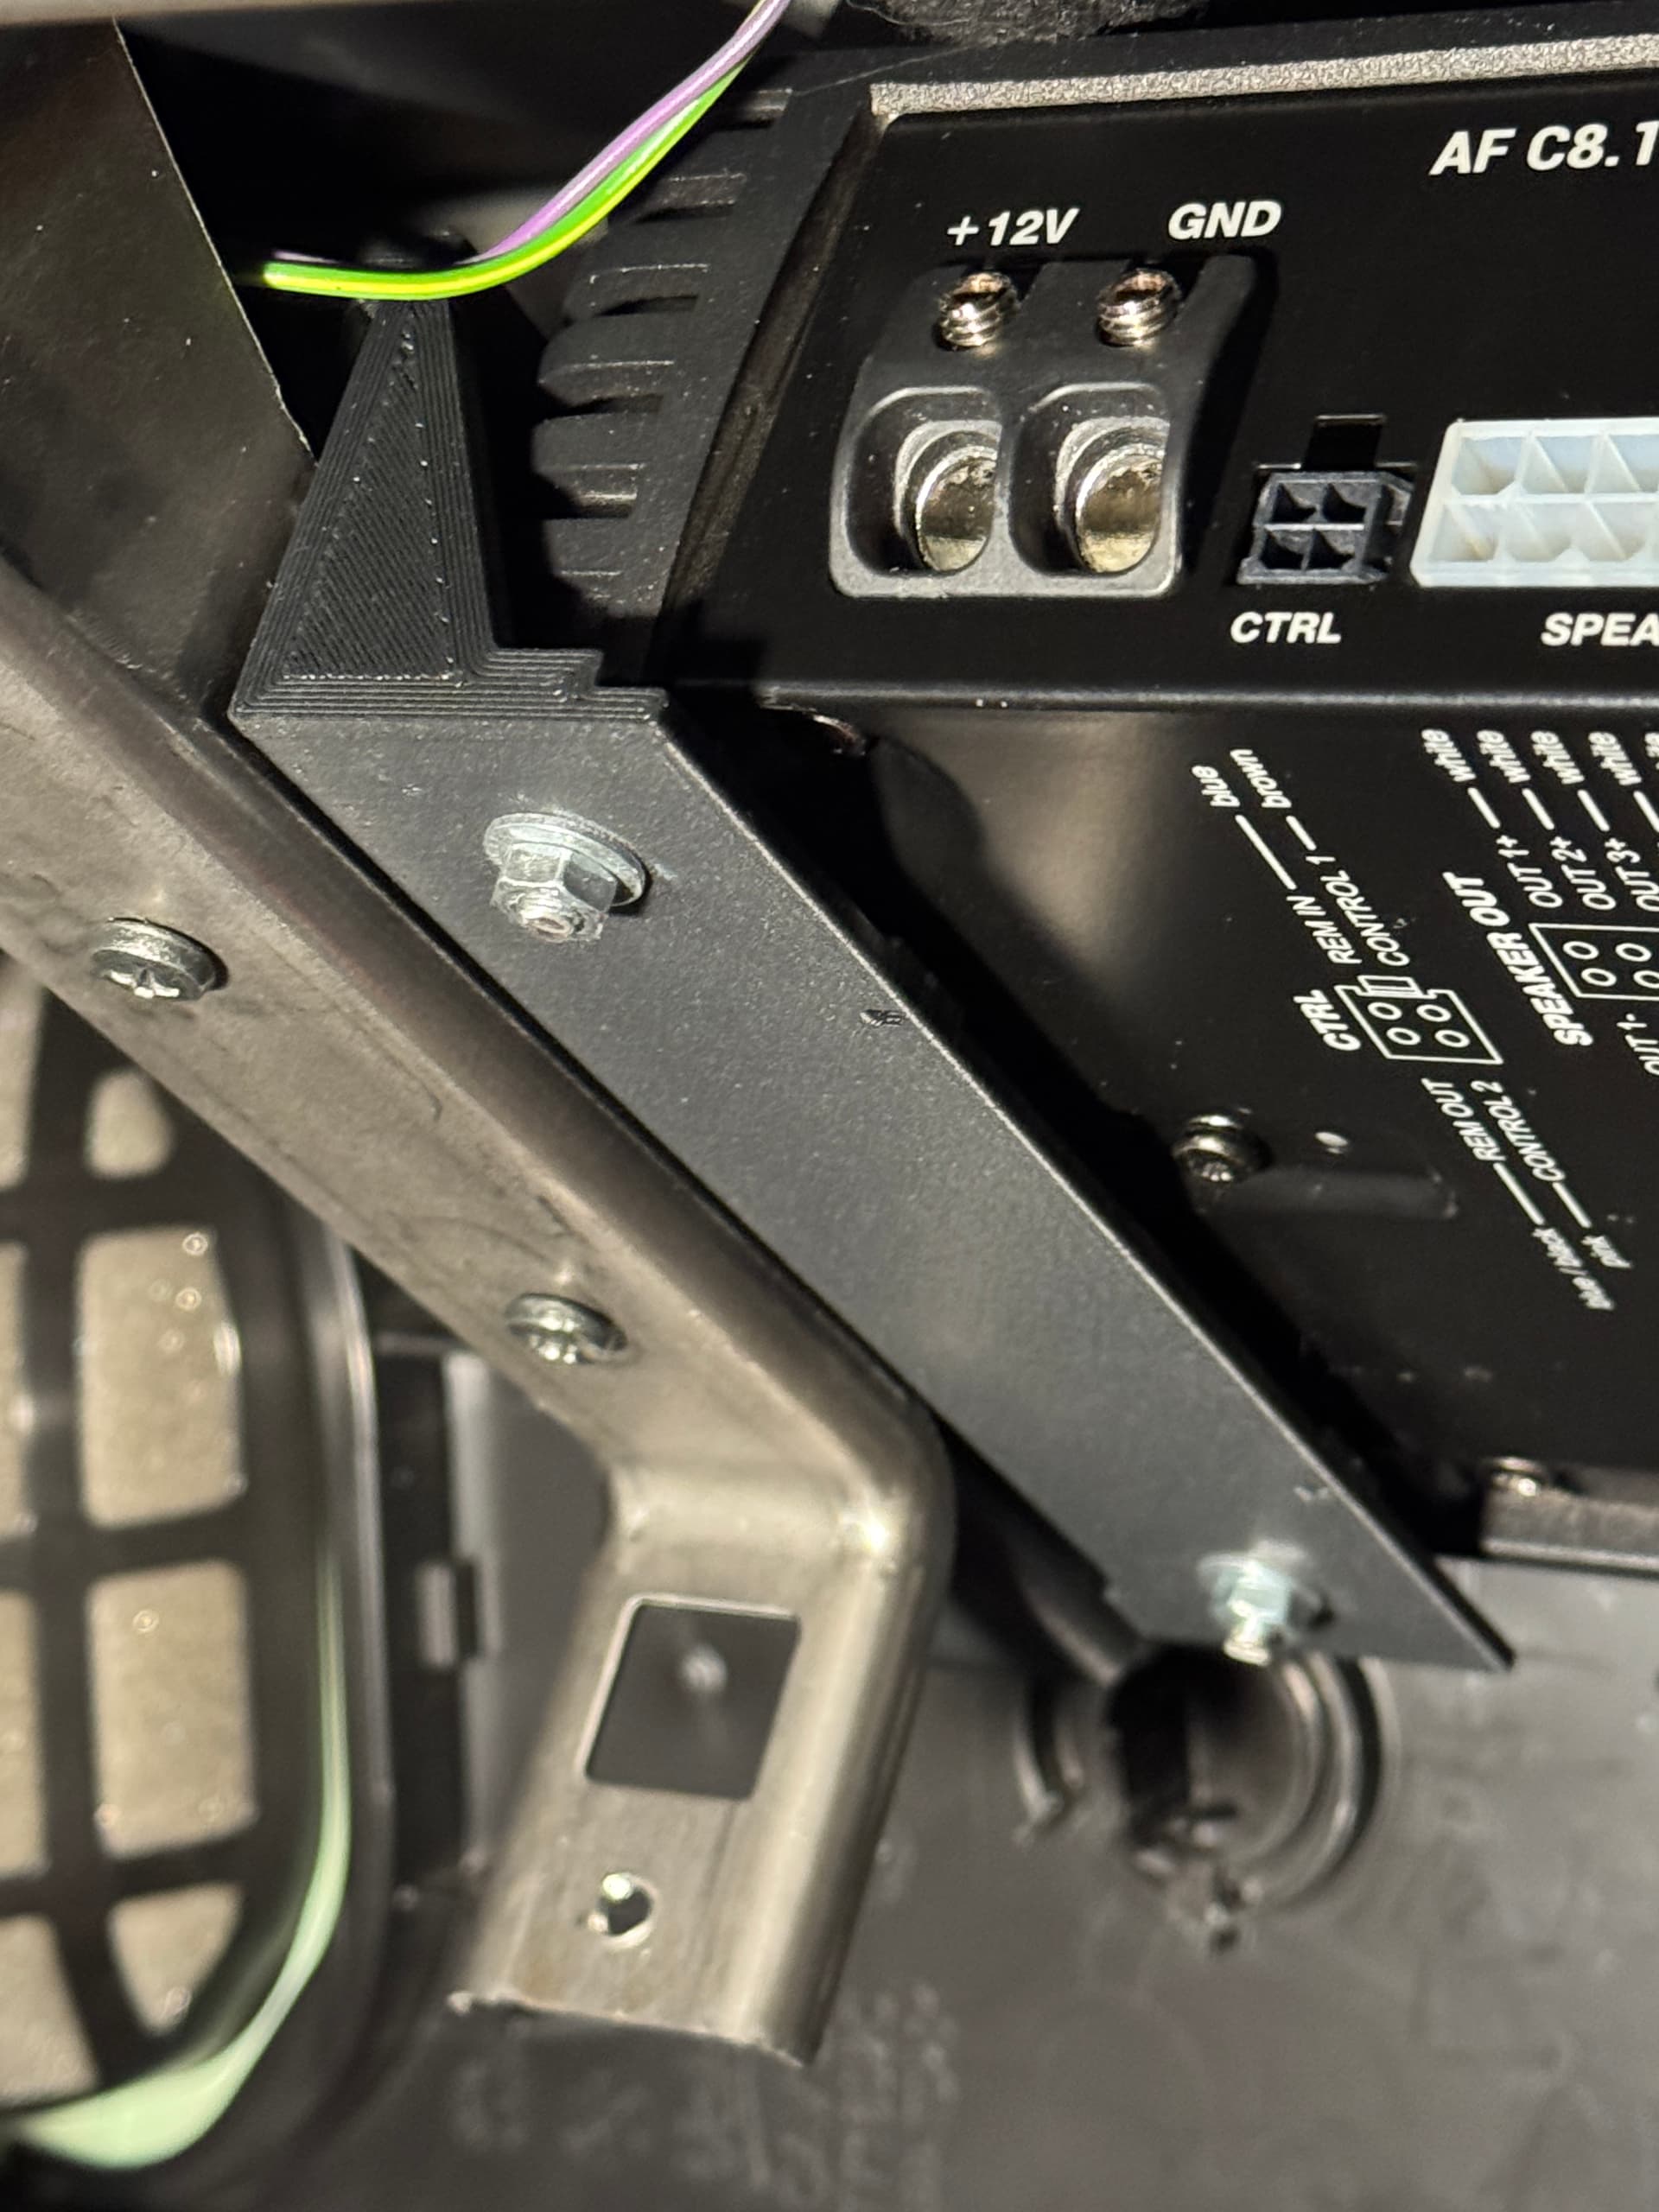
Dear AvatarPL I kindly ask an info about the white board you have used to mount the Amp over the glovebox. Where does it come from? Have you created it with a 3d printer? Is it an original spare part from PSA? Or have you found something that fits perfectly?
.
with a stiff knitting needle and a bit of cream, I create space just close to the main wiring, without creating any hole to the rubber.
hope this could help